2024 / 04 / 17
Mastering the Art of Using a Whipped Cream Charger
Whipped cream is a delectable addition to desserts, hot beverages, and more. Its light and airy texture can elevate the simplest of treats into a culinary delight. To achieve the perfect whipped cream consistently, a whipped cream charger is an indispensable tool. However, knowing how to use it safely and effectively is essential. In this article, we will guide you through the step-by-step process of using a whipped cream charger to create heavenly whipped cream at home.
Step-by-Step Guide to Using a Whipped Cream Charger
Step 1: Gather the necessary equipment and ingredients
Before diving into the whipped cream creation process, gather all the essentials. You will need a whipped cream dispenser, a whipped cream charger, fresh cream, and optional flavors or sweeteners to add an extra touch of deliciousness.
Step 2: Prepare the whipped cream dispenser
To begin, unscrew the head of the whipped cream dispenser to reveal the canister. Take the whipped cream charger and insert it into the charger holder in the dispenser. Ensure it fits snugly. Then, screw the head of the dispenser back onto the canister tightly, ensuring a secure seal.
Step 3: Load the cream into the dispenser
Now it’s time to add the star ingredient – fresh cream. Carefully pour the cream into the canister, leaving some space at the top to accommodate the expansion during the whipping process. If desired, this is also the step where you can add flavors or sweeteners to enhance the taste of your whipped cream. However, be mindful not to exceed the maximum fill line indicated on the dispenser to avoid any overflow issues.
Step 4: Charge the dispenser
With the cream in place, it’s time to charge the dispenser. Hold the dispenser with one hand and firmly attach the whipped cream charger holder to the charger. Once secured, twist the charger firmly until you hear a hissing sound indicating the gas is being released into the canister. Wait for a brief moment to allow the gas to dissolve fully into the cream.
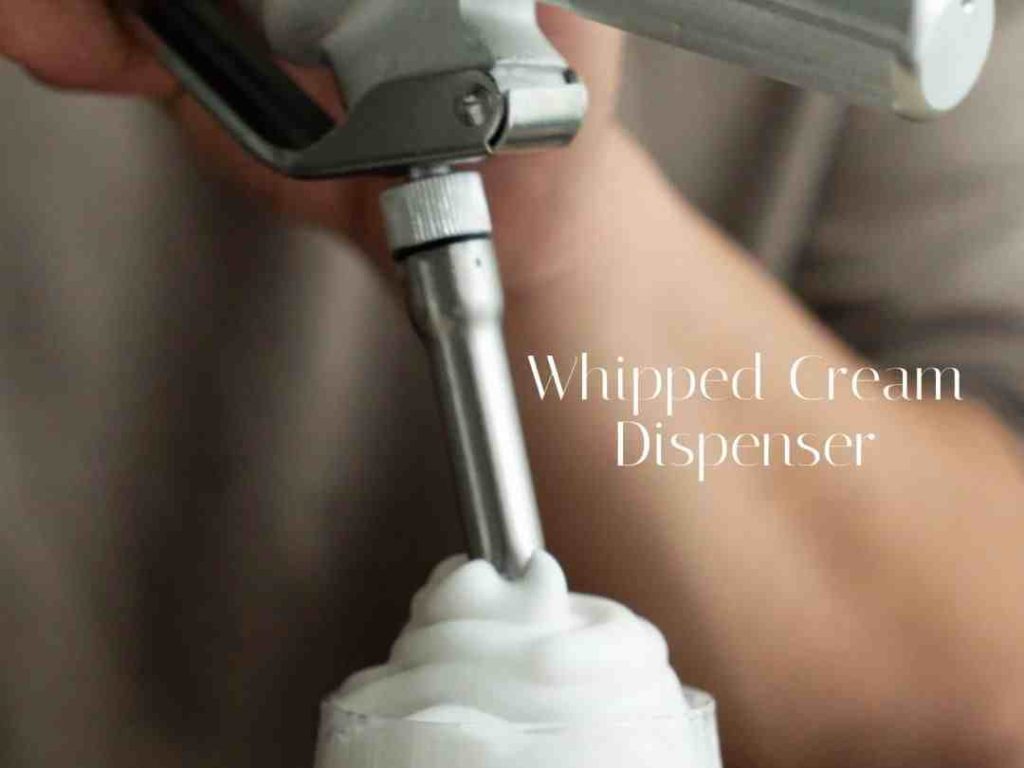
Step 5: Shake and dispense the whipped cream
After the dispenser is charged, close it by twisting the lever or cap tightly. Then, hold the dispenser upside down, pointing the nozzle in the desired direction. To dispense the heavenly whipped cream, gradually press the lever or trigger. Adjust the speed and angle according to your preference to achieve the perfect consistency.
Safety Precautions and Tips
While creating whipped cream with a charger is an enjoyable process, it is essential to prioritize safety. Here are some precautions to keep in mind:
- Read the instructions
Before embarking on your whipped cream adventure, carefully read the instructions provided with the whipped cream charger and dispenser. Familiarize yourself with the specific guidelines and recommendations to ensure safe usage.
- Avoid inhaling the gas
When releasing the gas into the canister, be cautious not to inhale it directly. The gas is meant to dissolve into the cream and create the desired texture, not to be inhaled.
- Keep away from heat sources
Whipped cream chargers are pressurized containers, so it’s crucial to keep them away from heat sources. High temperatures can potentially damage the charger and compromise its safety.
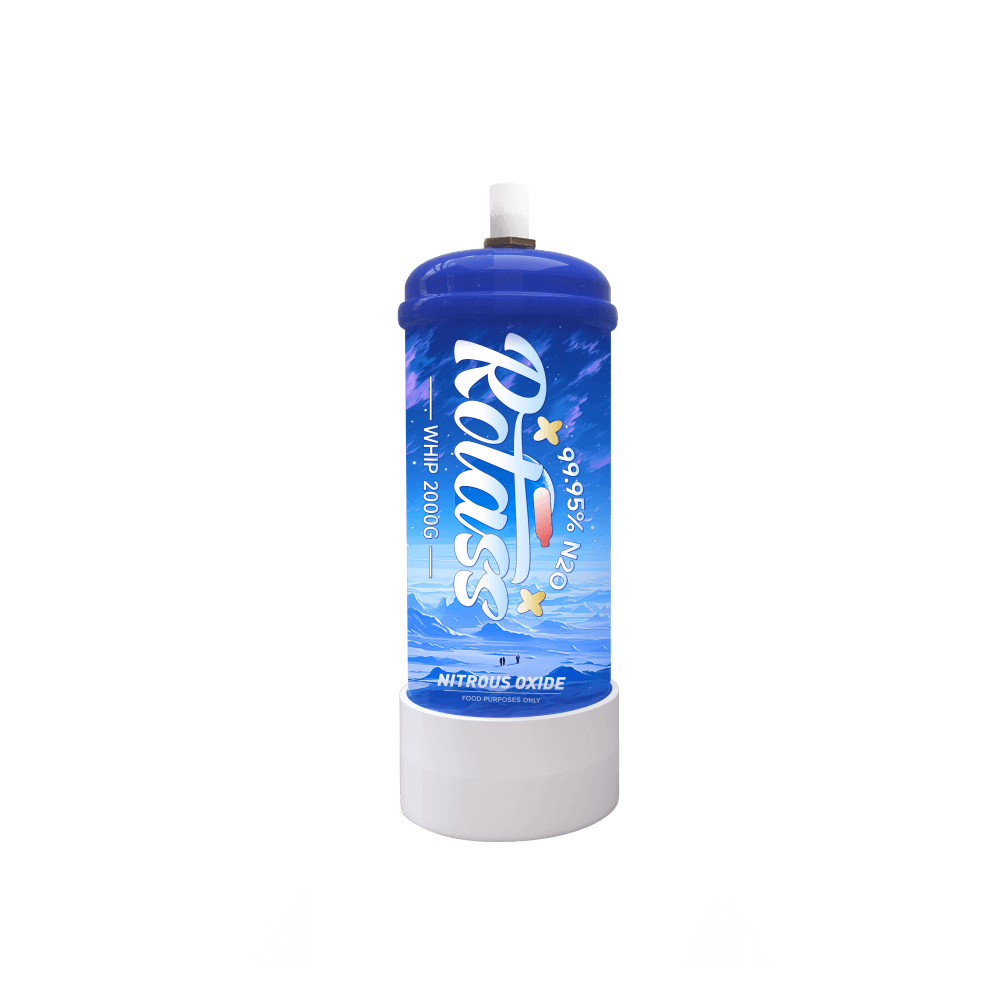
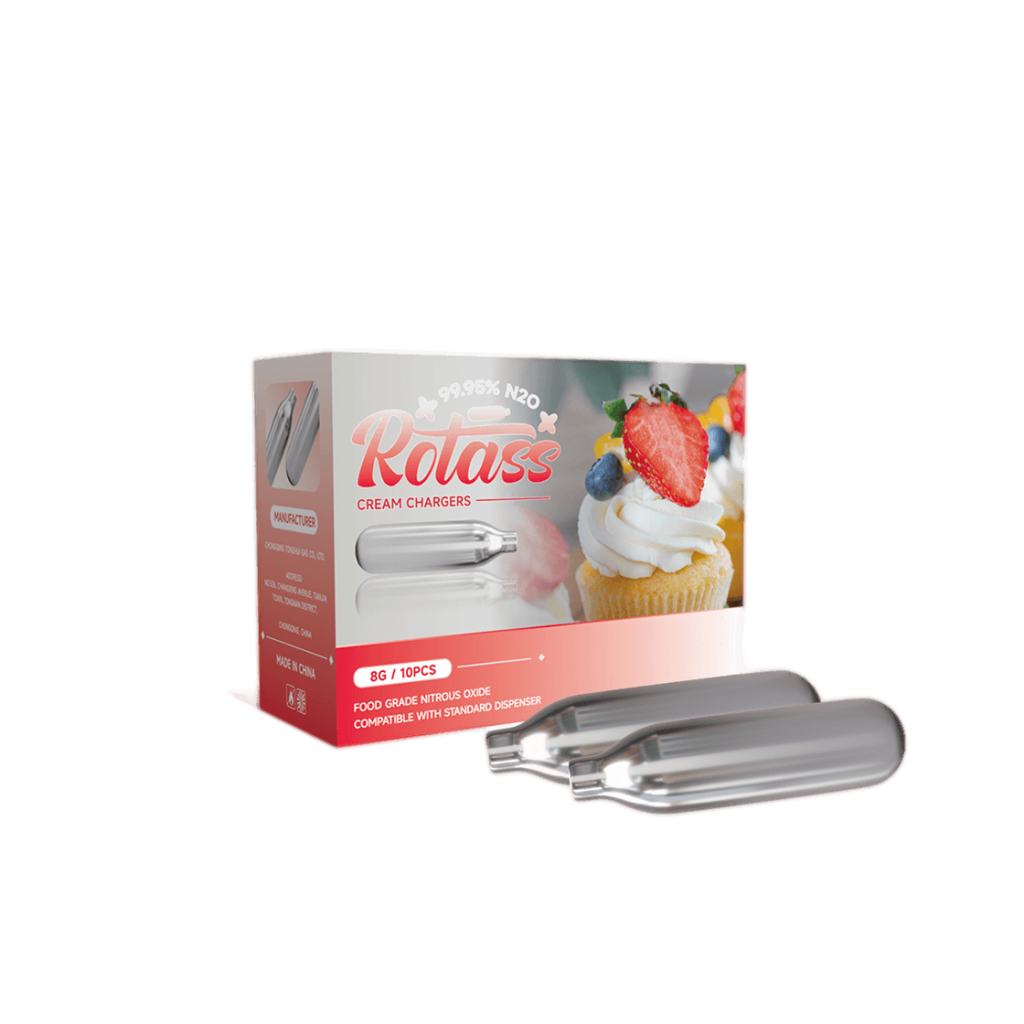
- Use appropriate chargers
Only use whipped cream chargers specifically designed for whipped cream dispensers. Using incompatible chargers can pose a safety risk and may result in ineffective whipping.
- Proper storage
Store your whipped cream chargers in a cool, dry place, away from direct sunlight. This will help maintain their quality and extend their shelf life.
Conclusion
With this comprehensive guide, you’re well on your way to becoming a whipped cream connoisseur. By following these steps and adhering to the safety precautions, you can confidently use a whipped cream charger to create velvety whipped cream at home. Remember to gather all the necessary equipment, prepare the dispenser, load it with cream, charge it properly, and then shake and dispense the whipped cream to your heart’s content.
Always prioritize safety by reading the instructions, avoiding inhaling the gas, keeping the charger away from heat sources, using compatible chargers, and storing them properly. These precautions will ensure a delightful and risk-free whipped cream experience.
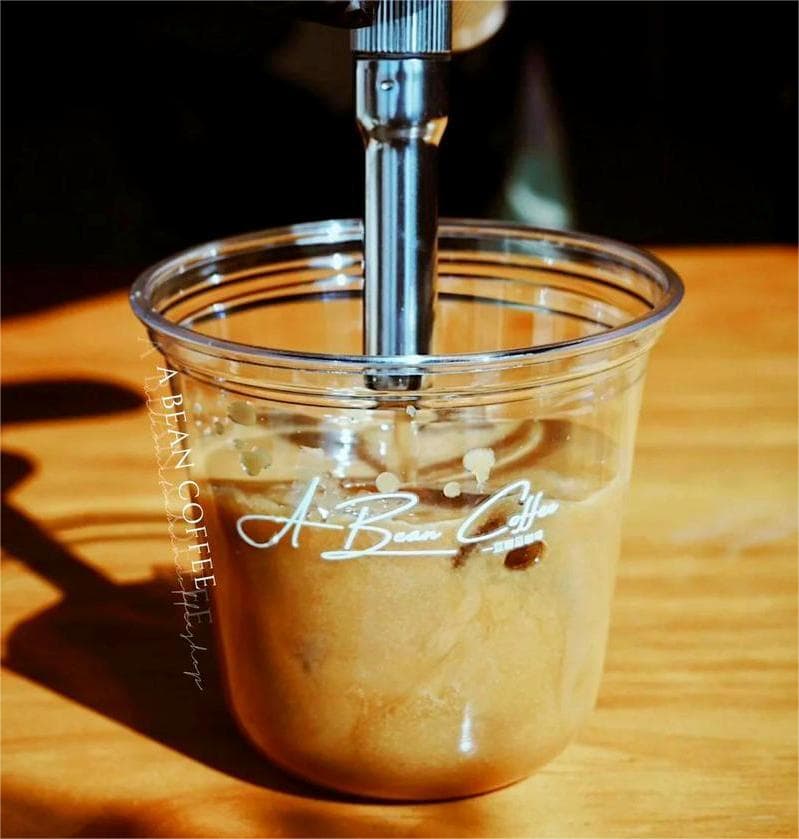
Now that you have mastered the art of using a whipped cream charger, indulge in the joy of creating homemade whipped cream. Whether you top your favorite desserts, garnish hot beverages, or create decadent sundaes, the light, and fluffy whipped cream will elevate your culinary creations to new heights.
So, go ahead, grab your whipped cream charger, and let your creativity flow as you whip up heavenly delights in your own kitchen. Enjoy the process, savor the results, and delight in the smiles of those lucky enough to taste your homemade whipped cream masterpieces. Happy whipping!