Share your requirements with Rotass now!
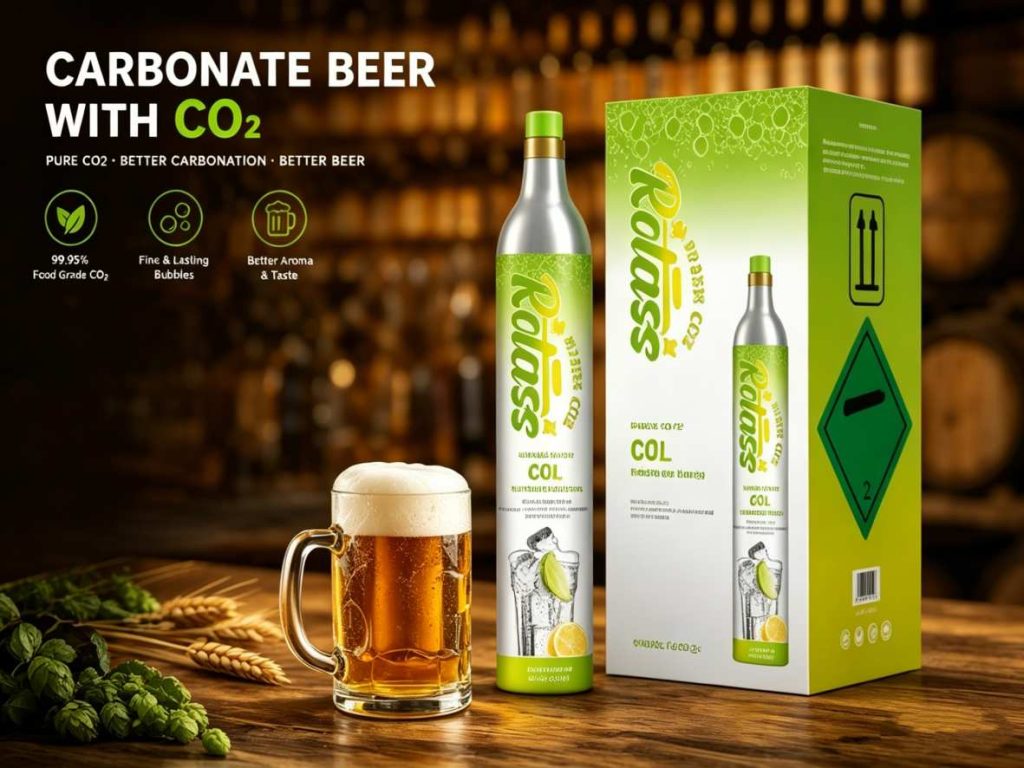
How to Carbonate Beer with CO2 Chargers: Step-by-Step Guide
Most people who end up with flat or over-foamy homebrew aren’t using the wrong equipment — they’re skipping a step, or doing things in the wrong order. Carbonating beer with CO2 is straightforward once you know what actually matters, and this guide walks through the full process from start to finish.
If you’re still deciding on which CO2 charger size or system fits your setup, start with our Beer Carbonation System Guide first.
Before You Start — What You’ll Need
No need for complicated equipment. For most home setups, you’ll need:
- A CO2 charger (the right size for your container)
- Your container — a bottle, mini keg, or kegerator
- A thermometer to check beer temperature
- A regulator or dispenser compatible with your charger type
That’s it. The process itself is simple, but a few small details make a real difference in the final result.

99.95% purity · OEM · Low MOQ · Local delivery
Step-by-Step: How to Carbonate Beer with a CO2 Charger
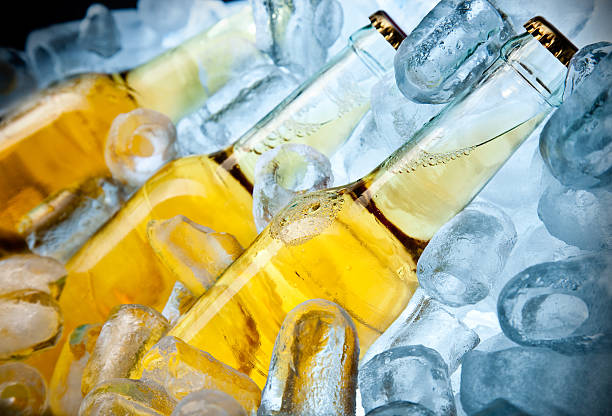
Step 1: Chill Your Beer First
This is the step most people either skip or underestimate — and it’s the one that causes the most problems.
Cold liquid absorbs CO2 significantly faster and holds it more effectively than warm liquid. If your beer goes in at room temperature, a large portion of the CO2 will escape as gas rather than dissolving into the beer. The target temperature is 2–4°C (35–39°F). Refrigerate your beer for at least 2–4 hours before carbonating, and overnight if you have the time.
According to Brewer’s Friend’s carbonation reference, the difference in CO2 absorption between 2°C and 12°C is substantial enough to affect the final carbonation level noticeably. Temperature isn’t a minor variable — it’s central to the process.
Step 2: Fill Your Container and Leave Some Headspace
Fill your bottle or keg, but don’t top it off completely. CO2 needs room to expand and make contact with the liquid surface before it dissolves. A headspace of around 10–15% of the container volume is a practical target for most setups.
Overfilling leaves no room for the gas to work, which usually results in either weak carbonation or a mess when you open it.
Step 3: Attach the CO2 Charger
Before releasing any gas, check that the charger is properly seated and the connection is sealed. A loose fitting means CO2 escapes before it ever reaches the beer — which is easy to mistake for a carbonation problem when it’s actually just a leak.
Threaded chargers screw directly into the regulator. Non-threaded chargers use a puncture mechanism. Either way, a firm, secure connection before you proceed is worth the extra few seconds.
Step 4: Release the CO2 Slowly
Don’t push all the gas in at once. Release the CO2 gradually — in short bursts if your setup allows it. Flooding the container too quickly tends to produce excessive foam and uneven carbonation distribution.
Slow and steady gives the gas time to make contact with the liquid rather than just building pressure in the headspace.
Step 5: Swirl Gently
Once the CO2 is in, give the container a gentle swirl or a slow roll back and forth. This helps the gas come into contact with more of the liquid surface and speeds up absorption. Keep it gentle — aggressive shaking causes foaming and can push CO2 back out before it dissolves.
Step 6: Rest Before Serving
This is the second step people tend to skip, usually out of impatience. After carbonating, let the beer rest for at least 4–6 hours minimum, and ideally 12–24 hours before serving. During this time the CO2 continues dissolving evenly throughout the beer.
Opening it too soon often results in an initial burst of foam followed by flat beer — the carbonation hasn’t had time to stabilize.
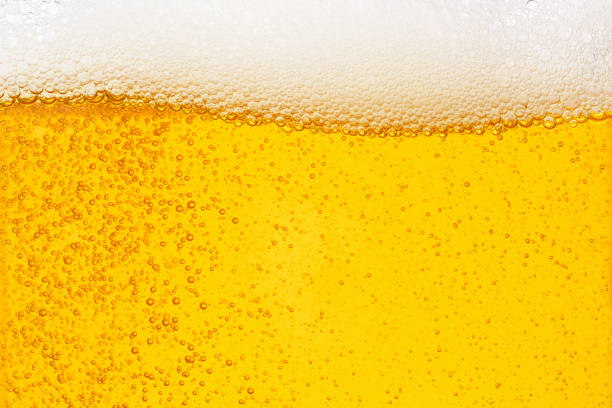
How to Tell If Your Beer Is Properly Carbonated
You don’t need any special tools to check. A properly carbonated beer will show a steady stream of small bubbles rising from the bottom of the glass, and the head should be consistent rather than erupting and then disappearing.
If the pour is mostly foam that collapses quickly, the beer was likely over-carbonated or served too warm. If there’s almost no carbonation at all, the issue is usually one of three things: insufficient CO2, beer that was too warm when charged, or a seal that wasn’t tight enough.
Common Mistakes and How to Avoid Them
Most carbonation problems come down to the same handful of errors. Here’s what to watch for:
| Mistake | What Happens | Fix |
| Beer too warm | CO2 escapes as gas instead of dissolving | Chill to 2–4°C before charging |
| Container filled too full | No room for CO2 to expand | Leave 10–15% headspace |
| CO2 released too fast | Foaming, uneven carbonation | Release slowly in bursts |
| Not enough resting time | Carbonation is uneven or weak | Rest at least 12 hours |
| Loose charger connection | CO2 leaks out before reaching the beer | Check the seal before releasing gas |
Running through this list before troubleshooting anything else usually identifies the issue quickly.
How Long Does It Take to Carbonate Beer with CO2?
If you shake or swirl the container after charging and keep the beer cold, you can get reasonable carbonation in 4–6 hours. For a more consistent result with less hands-on effort, the standard approach — charge, swirl gently, then rest — takes 12–24 hours.
The main factors that affect timing are temperature, container size, and how much CO2 was introduced. Larger containers take longer to carbonate evenly. Beer at the lower end of the temperature range (closer to 2°C) will absorb CO2 faster than beer at 4°C.
There’s no hard rule that fits every situation, but if you’re carbonating the night before you plan to serve, you’ll almost always have enough time.
Final Thoughts
Carbonating beer with CO2 is one of those processes that feels more complicated than it actually is. Once you understand the role temperature plays and give the beer enough time to rest, most of the common problems take care of themselves.
The core checklist: chill the beer first, leave headspace, check your seal, release CO2 slowly, and wait before serving.
Ready to get started? Explore our food-grade CO2 chargers.
FAQ
How many CO2 chargers do I need for a 5L mini keg?
One 33g charger is usually enough for a standard 5L mini keg. If you’re using 16g chargers, plan for two.
Can I carbonate warm beer with CO2?
Technically yes, but the results are unreliable. Warm beer absorbs CO2 poorly, and most of the gas will escape rather than dissolve.
Why is my beer still flat after using a CO2 charger?
The most likely causes are beer that was too warm, a loose charger connection, or not enough resting time. Work through those three before assuming anything else.
How long should I swirl the beer after adding CO2?
Around 30–60 seconds of gentle swirling is enough for most setups. The goal is to move the liquid, not agitate it.
Is it possible to over-carbonate beer with a CO2 charger?
Yes. Using too much CO2 or serving before the carbonation has stabilized are the two most common causes. If your pour is consistently foamy, try using slightly less CO2 and extending the rest time.
Chat with us on Whatsapp, we’ll sort you out in minutes.