Share your requirements with Rotass now!
How to Remove a Stuck Cream Charger Cartridge (3 Methods That Won’t Strip Your Threads)
You just finished charging your whipper, and now the cartridge won’t budge. Pulling harder feels risky, and you’re not sure if forcing it will damage the threads. The good news is that this is a common problem with a few straightforward fixes and none of them require special tools you don’t already have.
This guide teaches you three methods, starting with the gentlest and working up from there. Most people solve it with Method 1 or 2.
Why Do Cream Chargers Get Stuck?
Understanding the cause helps you pick the right fix. There are a few reasons this happens:
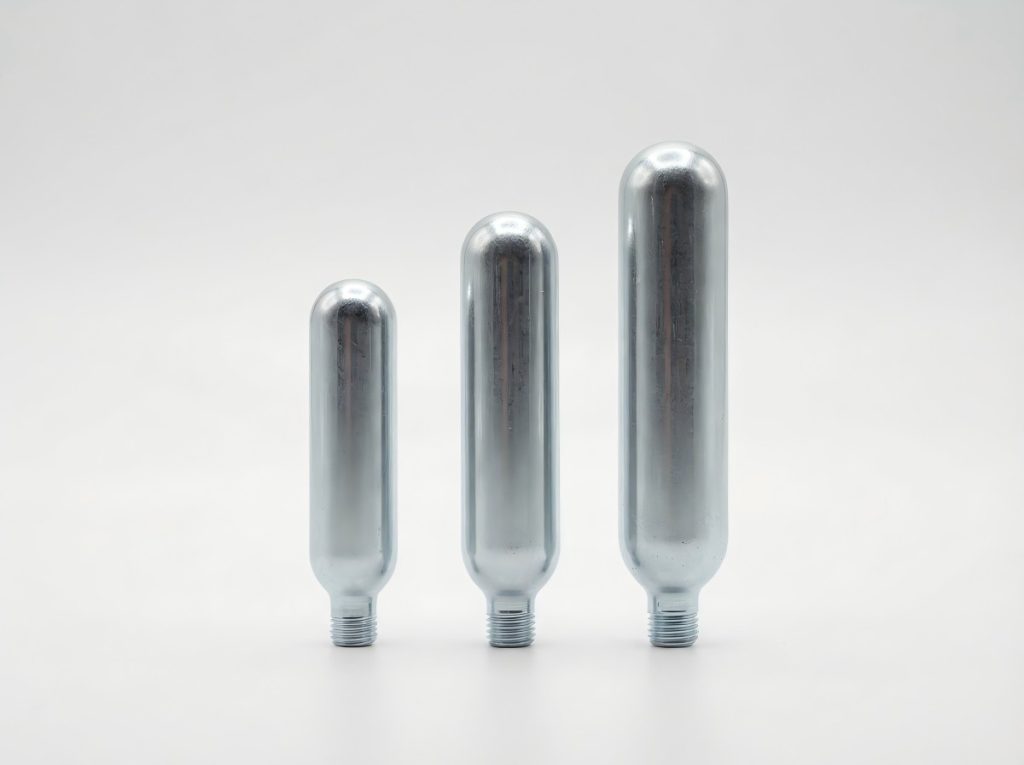
The cartridge shell expands slightly after discharge. N2O cartridges are pressurized, and once the gas releases, the metal can expand just enough to grip the holder tightly.
The threads were over-tightened. It’s easy to go one turn too far when you’re focused on getting a good seal.
Liquid crept into the threads and dried. Cream or liquid residue that seeps into the holder can harden over time and act like glue.
The cartridge diameter is slightly off-spec. Not all chargers are manufactured to the same tolerances. Low-quality cartridges occasionally run slightly wider than standard, which makes removal harder. (The European Industrial Gases Association publishes guidelines on gas cartridge standards if you want to dig into the specs.)
In most cases, the cause is one of the first two — which means a simple fix is usually all you need.
Before You Try Anything — 2 Safety Checks
Don’t skip this part. These two checks take about 30 seconds and can save you from making the situation worse.
Check 1: Make sure all pressure has been released. Tilt the whipper upside down and press the lever to release any remaining gas before you attempt to remove the charger holder. Working on a pressurized canister is unsafe and unnecessary.
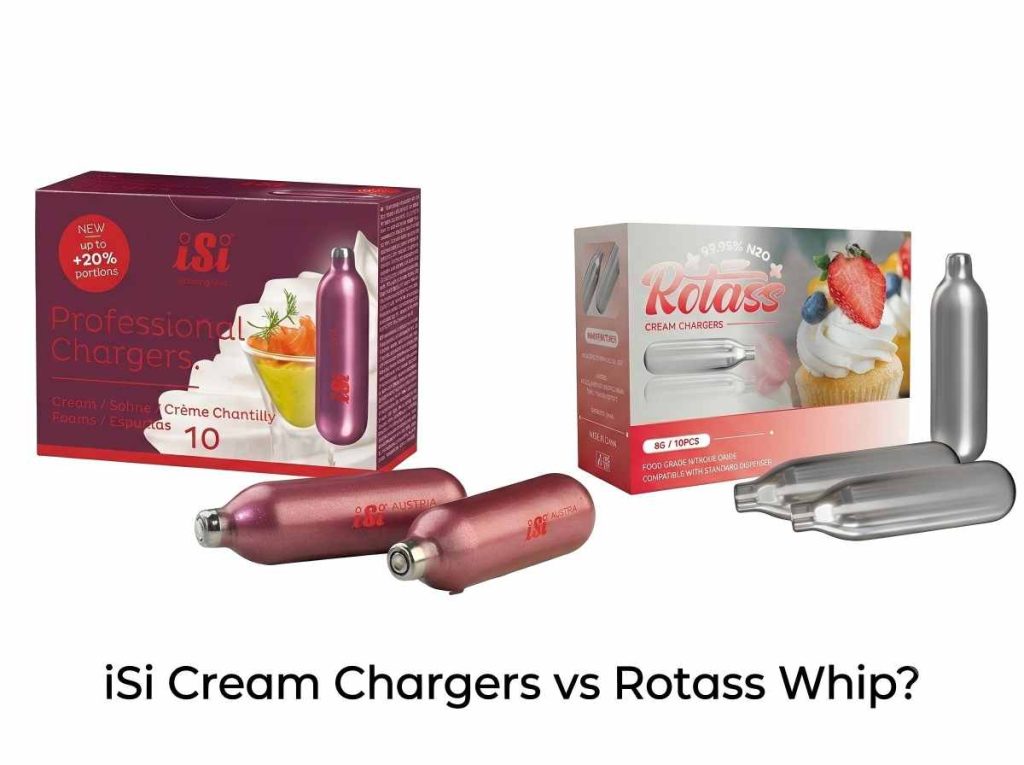
Check 2: Look at the threads before applying force. Point the holder toward a light source and take a quick look at the threading. If the threads already look flattened, crossed, or visibly damaged, aggressive removal methods won’t help — and could strip them entirely. In that case, the holder itself may need replacing. Most manufacturers like iSi and Rotass sell replacement parts separately.
Aluminum material · OEM · Low MOQ · Local delivery
If both checks come back clear, you’re ready to try the methods below.
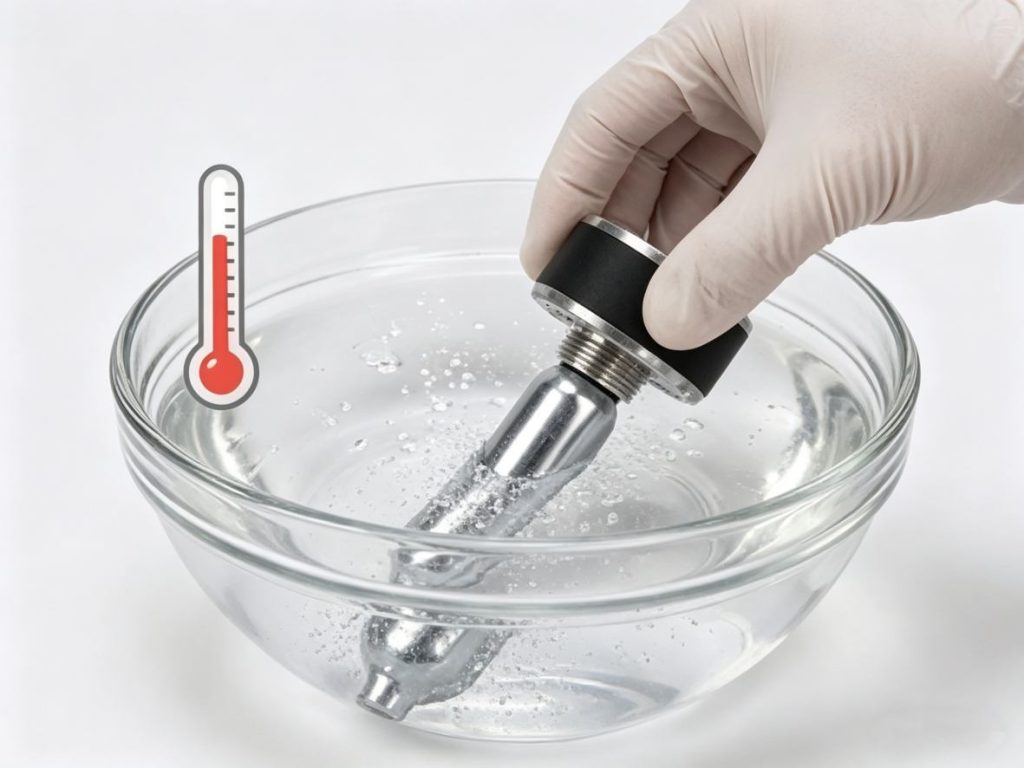
Method 1 — Warm Water Soak
This is the first thing to try because it requires nothing except water and a few minutes.
Steps:
- Fill a bowl or cup with warm water — aim for around 40–50°C (104–122°F). Hot tap water usually works fine. Do not use boiling water, as extreme heat can affect the cartridge casing.
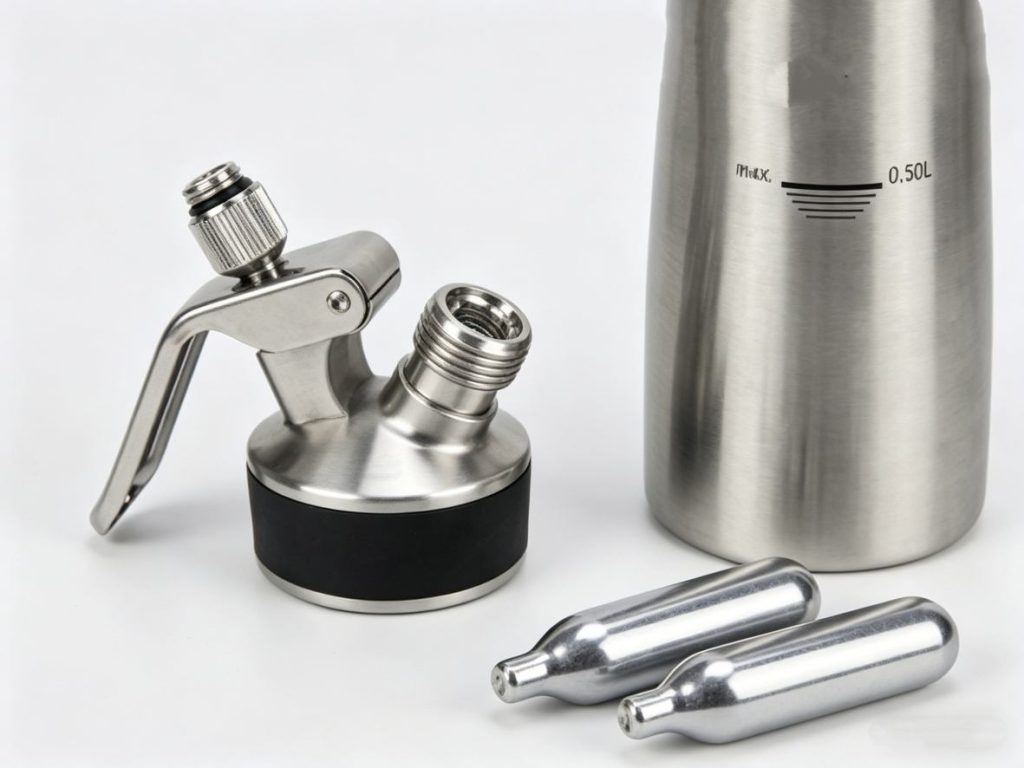
- Submerge just the charger holder section (the bottom part that screws off). Keep the whipper body out of the water.
- Let it soak for 2–3 minutes.
- Remove it from the water, wrap a dry cloth around the holder, and try unscrewing again.
The warmth softens any dried residue and causes slight metal expansion, which often gives you just enough movement to break the seal. If it moves even slightly, keep going — don’t stop and force it.
If there’s no movement after two attempts, move on to Method 2.
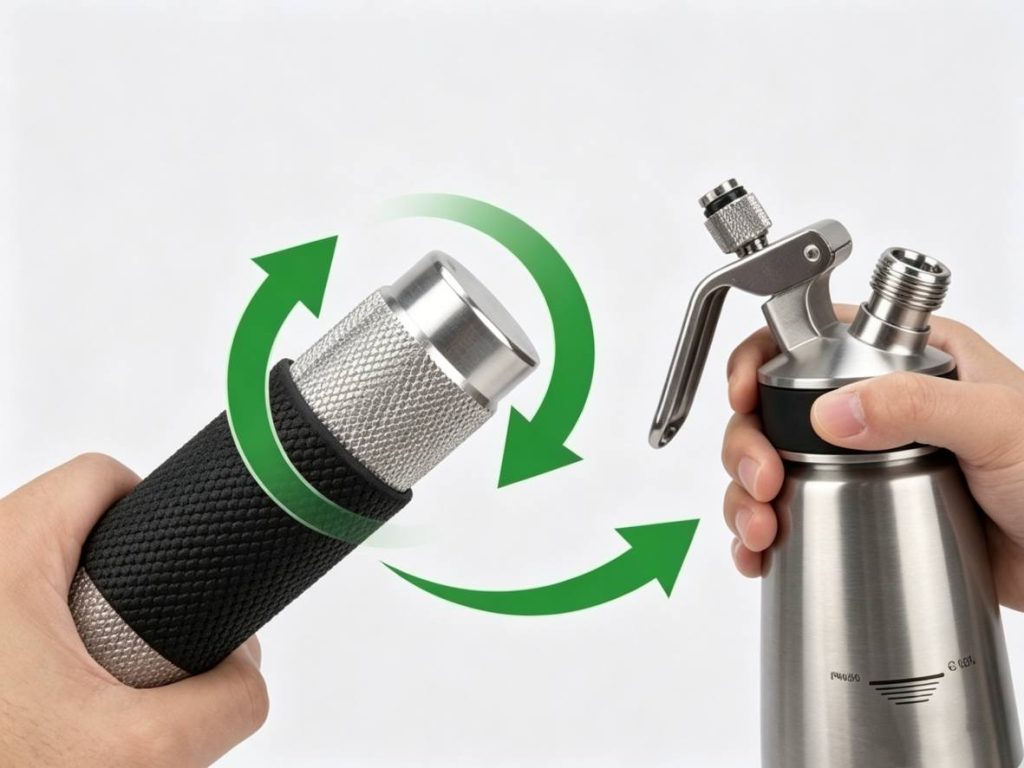
Method 2 — Rubber Grip and Controlled Torque
Sometimes the cartridge isn’t stuck due to residue or expansion — your hands just can’t generate enough friction to get it moving. A rubber grip solves that without applying any damaging force.
What you need: A rubber kitchen glove, or a rubber jar opener pad (the kind used for tight jar lids).
Steps:
Make sure the whipper is fully depressurized (back to Check 1 if needed).
Wrap the rubber grip around the charger holder.
Here’s the part that surprises most people: before unscrewing, apply a very small amount of inward pressure — as if you were tightening it slightly — and then immediately reverse direction to loosen. This brief counter-pressure can break the initial resistance in a stuck thread.
Unscrew steadily with even torque. Avoid jerking or twisting fast.
The reason to avoid sudden force is simple: threads on cream whippers are fine-pitched, and they strip more easily than they look. Slow and steady is always the better approach here.
If the cartridge still won’t move after a few tries, it’s time for Method 3.
Method 3 — Needle-Nose Pliers with Thread Protection
This method works, but it requires one extra step that most people skip — protecting the threads before you apply any tool to metal. Skip that step and you risk scratching or deforming the holder.
What you need: Needle-nose pliers, and either a thick cloth, a few layers of tape, or a rubber band wrapped around the holder.
Steps:
- Wrap the cloth or tape firmly around the body of the charger holder. This creates a protective layer between the pliers and the metal surface.
- Grip the holder with the pliers over the wrapped section — not directly on bare metal.
- Hold the whipper body steady with your other hand (or brace it against a stable surface).
- Apply slow, controlled rotational force in the unscrewing direction.
- Once it starts moving, set the pliers aside and finish unscrewing by hand.
When to stop: If you’re applying significant force and nothing is moving, the cartridge may have swelled beyond the point where removal is practical. At that stage, continuing risks cracking the holder or stripping the threads permanently. A replacement charger holder is inexpensive — forcing a truly stuck cartridge is not worth the risk to the whole unit.

How to Prevent This from Happening Again
Once you’ve gotten the cartridge out, a few small habits will keep this from becoming a recurring problem.
Don’t over-tighten. The charger holder only needs to be snug enough to puncture the cartridge and create a seal — not as tight as physically possible. If you feel the cartridge puncture (you’ll hear the gas release), stop there.
Clean the threads after each use. A quick rinse and dry of the charger holder after every session prevents residue from building up. A soft brush works well for getting into the thread grooves.
Use cartridges from reputable brands. Off-spec cartridges are a common culprit for fit problems. Sticking to brands that meet standard N2O cartridge dimensions reduces the chance of this happening in the first place.
Store the whipper without a cartridge installed. Leaving a used cartridge in the holder for extended periods — especially in a humid environment — increases the chance of corrosion or residue buildup around the threads.
Most stuck chargers come free with Method 1 or 2. Method 3 is there for the stubborn cases, but it rarely comes to that if you follow the safety checks first.
If the charger came out but your whipper still isn’t dispensing properly, the issue is somewhere else — this guide on cream whipper troubleshooting covers the other common causes, including faulty seals and head blockages.
Contact us now, and we’ll get back to you within minutes.