Share your requirements with Rotass now!
How to Make Latte Art Without a Steam Wand — 5 Methods That Actually Work
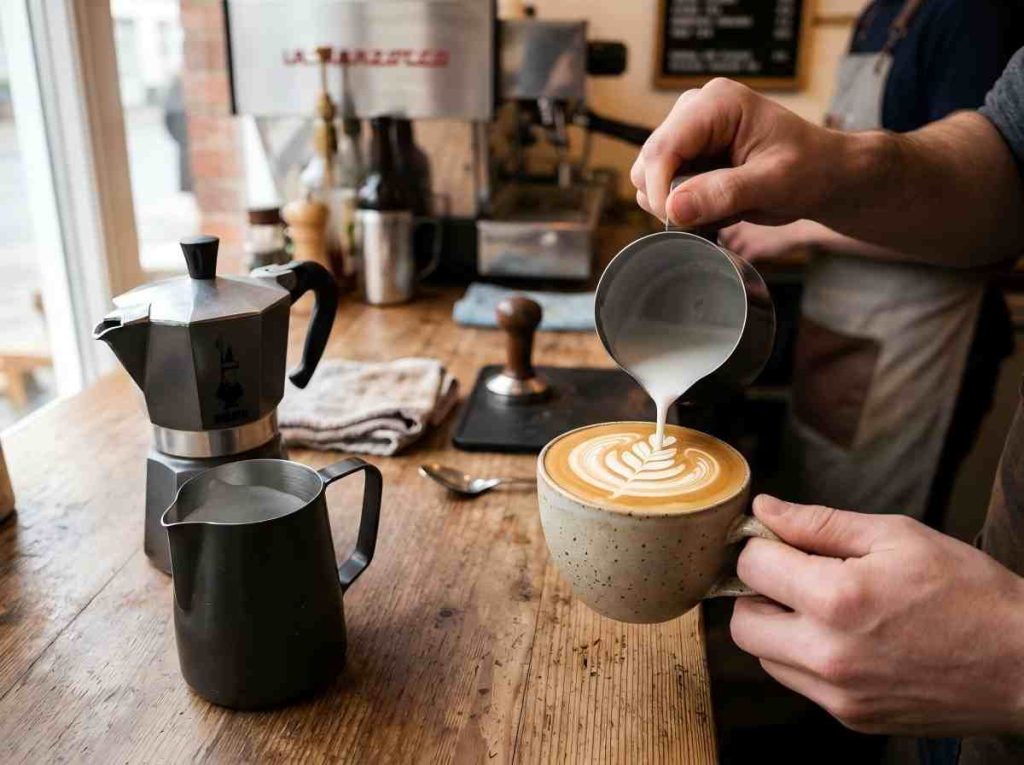
A steam wand is the standard tool for making latte art, and it heats milk and creates microfoam at the same time, in under 30 seconds. The problem is that a machine with a proper steam wand costs anywhere from $300 to well over $1,000. That rules out a lot of people who just want a decent cup at home.
The good news: you don’t necessarily need one. Depending on what kind of drink you’re making — hot or cold — there are real alternatives that produce foam good enough to pour with. Some work better than others, and a few are more useful for iced drinks than traditional hot lattes. This guide covers all five, with honest notes on what each can and can’t do.

What Makes Latte Art Possible? The Science of Milk Foam
Before getting into the methods, it helps to understand why foam quality matters so much.
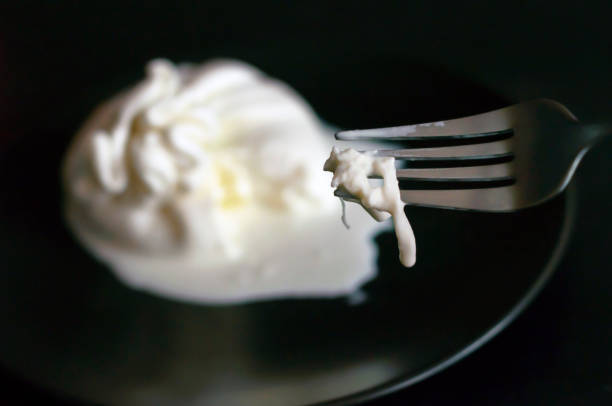
Latte art depends on two things working together: the texture of the foam and how it flows. Steam wands work so well because they inject pressurized steam into cold milk, which simultaneously heats the protein structure and breaks the surface into thousands of tiny, stable bubbles, what baristas call microfoam. That smooth, glossy texture is what lets you pour a heart or a rosette without the foam just sitting on top in a clump.
Without a steam wand, you’re trying to replicate one or both of those conditions using different tools. Some methods get you close for hot drinks. Among of these ways, using an N2O whipper actually produces a different but equally useful result, especially for cold drinks. According to the Specialty Coffee Association, ideal milk foam for latte art has a velvety consistency with no visible large bubbles.
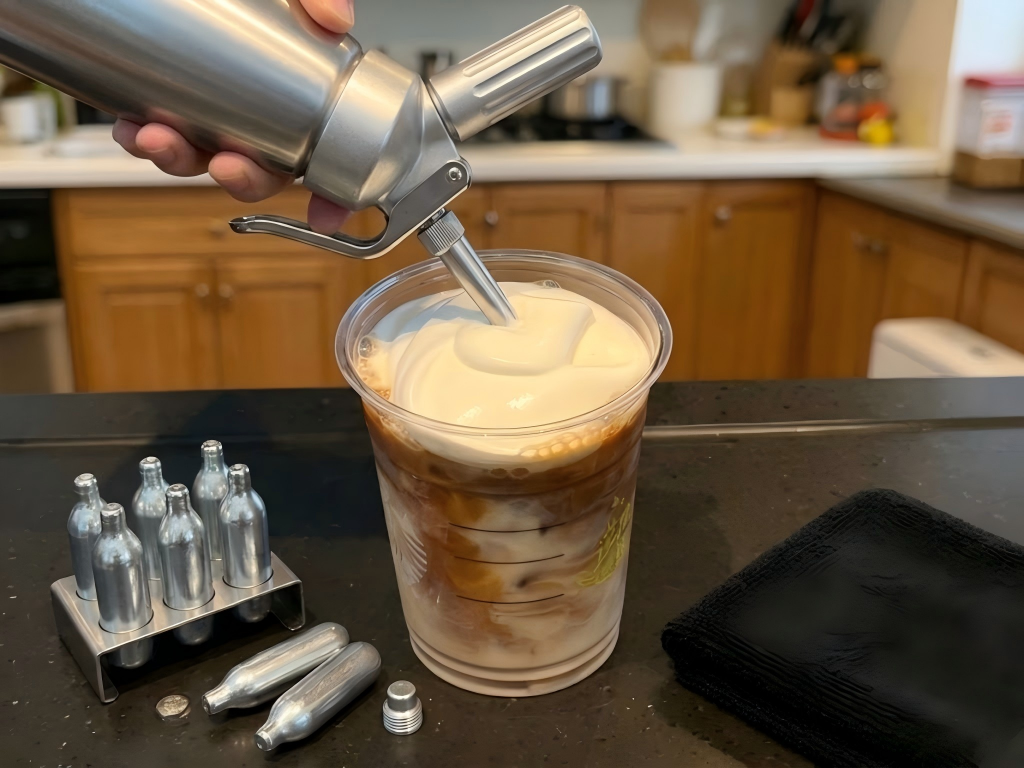
Method 1: N2O Cream Whipper — The Best Option for Cold Foam
Best for: Cold lattes, iced drinks, nitro-style cold foam ($30–60 for the whipper) Foam quality: ⭐⭐⭐⭐⭐ (for cold applications)
This one works differently from the others, and that difference matters. An N2O (nitrous oxide) cream whipper doesn’t heat the milk, instead, it pressurizes it with gas. When you release the lever, the dissolved N2O expands rapidly inside the liquid, creating extremely fine, stable bubbles throughout.
The result is cold foam. Dense, smooth, and remarkably consistent,it’s similar to what Starbucks calls “cold foam” on their iced drinks. Because N2O is fat-soluble, it integrates into the milk proteins differently than air does, which is why the texture holds up so well even without heat. According to food science research, nitrous oxide’s solubility in fat-based liquids is what gives whipped cream and cold foam their characteristic creaminess.
How to use it:
- Pour cold whole milk (or a mix of milk and a small amount of heavy cream) into the whipper. Fill to the max line, usually 500ml.
- Screw in one N2O charger. For a lighter foam, one charger is enough; for denser foam, some people use two for a 500ml volume.
- Shake the whipper 5–6 times with the nozzle pointing down.
- Hold it upright and dispense slowly over your iced espresso or cold brew.
- The foam floats cleanly on top and holds its structure for several minutes, long enough to create simple patterns or a layered visual effect.
However, this method produces cold foam, not steamed microfoam. It won’t work for a traditional hot latte where the milk needs to be heated and integrated. If you’re making iced lattes, cold brew drinks, or anything served over ice, it’s excellent. For hot drinks, you still need one of the other methods below.
99.95% purity · OEM · Low MOQ · Local delivery

Method 2: Moka Pot + Frothing Pitcher Combo
Best for: Serious home coffee drinkers who want café-quality results Foam quality: ⭐⭐⭐⭐
This is the most involved method, but also the one that gets closest to the real thing for hot lattes. A Moka pot produces strong, concentrated coffee, not true espresso, but close enough for latte art purposes. Pair it with a handheld frother or a manual frothing pitcher, and you have a workable setup.
The key is temperature control. Heat your milk in a small saucepan and stop at around 60–65°C. Froth it until you see a smooth, slightly glossy surface, then tap the pitcher on the counter a few times to pop any larger bubbles. Pour the Moka pot coffee into your cup first, then pour the milk at a low angle from close to the surface of the coffee.
It takes practice. The first few attempts probably won’t look like much, but the process is learnable. James Hoffmann’s YouTube channel has some of the clearest breakdowns of milk technique for home setups, and they’re worth watching before you try this.
Limitation: More steps mean more variables. Temperature control matters a lot here, and you’ll go through a fair amount of milk before the pour feels natural.
Method 3: French Press
Best for: Hot lattes, beginners, zero additional cost Foam quality: ⭐⭐⭐
If you already own a French press, you already have a milk frother. Heat your milk on the stove or in the microwave to around 60–65°C (140–150°F), just before it starts steaming, then pour it into the French press. Fill it no more than halfway. Pump the plunger up and down quickly for about 30 seconds, then let it sit for a few seconds before pouring.
The foam you get is real foam. It’s a bit coarser than what a steam wand produces, but it’s pourable and it integrates reasonably well with espresso. Don’t expect tight rosettas, but a simple heart or layered pour is achievable with some practice.
Honest limitation: The milk cools quickly during frothing, and the bubble size is inconsistent. For simple patterns it works fine; for detailed art, it falls short.
Method 4: Handheld Electric Frother
Best for: Daily home use, moderate budgets ($10–20) Foam quality: ⭐⭐⭐
A handheld frother is probably the most common alternative people reach for, and it does produce a decent volume of foam. Heat your milk first, submerge the frother just below the surface, and run it for 20–30 seconds while moving it slowly up and down.
The result is noticeably frothy, sometimes almost too much so. The foam tends to be airy rather than dense, which means it sits on top of the espresso instead of blending into it. That separation is the main reason latte art is harder to pull off with a handheld frother compared to a steam wand.
That said, for casual home drinks where you want some texture and visual appeal without being too precise, it gets the job done consistently.
Honest limitation: Foam and liquid separate quickly. You’ll need to pour immediately after frothing, and fine patterns are difficult to control.

Method 5: Mason Jar Shake Method
Best for: Emergency use, zero equipment Foam quality: ⭐⭐
This one requires nothing except a jar with a lid. Pour cold milk into a mason jar, fill it about halfway and shake it hard for 30 seconds. Then microwave it uncovered for about 10 seconds, which helps set the foam structure slightly.
The foam is real, but it’s unstable. It collapses within a minute or two, and the bubble size is large enough that it won’t merge cleanly with espresso. It’s fine for a quick visual effect or a photo, but it won’t hold up the way proper latte art foam should.
Honest limitation: This method is more of a workaround than a technique. Use it when nothing else is available, not as a regular approach.

Which Method Is Right for You?
| Method | Approx. Cost | Foam Quality | Best For |
| French Press | Free | ⭐⭐⭐ | Hot latte, beginners |
| Electric Frother | $10–20 | ⭐⭐⭐ | Daily home use |
| Mason Jar | Free | ⭐⭐ | Emergency only |
| Moka Pot Combo | $30–50 | ⭐⭐⭐⭐ | Serious home baristas |
| N2O Whipper | $30–60 | ⭐⭐⭐⭐⭐ | Cold foam / iced drinks |
If you mainly drink hot lattes and want to practice actual latte art technique, the Moka pot combo (Method 2) gives you the most realistic experience without a machine.
If you prefer iced lattes or cold brew drinks, the N2O whipper produces the best foam of any method here, better texture, more stable, and more consistent than anything you can get from shaking or electric frothing. A standard 8g N2O charger is all it takes per use, and the whipper itself pays for itself quickly compared to buying specialty drinks out.

FAQs
Can you make latte art with cold milk?
Not with traditional pour techniques, cold milk doesn’t flow and merge with espresso the same way steamed milk does. However, cold foam made with an N2O whipper sits on top of cold drinks in a way that creates a layered effect, which is a different but visually appealing result.
What milk is best for latte art without a steam wand?
Whole milk. The higher fat and protein content gives you more stable foam regardless of the method you use. Oat milk also performs reasonably well, especially barista-grade versions, because manufacturers add extra stabilizers. Skim milk froths easily but produces thin, unstable foam that collapses fast.
Is nitro cold foam the same as steamed foam?
No. Steamed foam is hot and integrates into the espresso as you pour. Cold foam sits on top of the drink and stays there, it doesn’t blend in. Both look good, but they serve different purposes depending on whether your drink is hot or iced.
Is it safe to use N2O chargers at home?
Yes, when used correctly. N2O chargers are food-grade and widely used in home and professional kitchens for whipped cream and cold foam. Use chargers that are specifically labeled for food use, follow the fill line on your whipper, and don’t overpressurize. The FDA classifies N2O as a food additive that is Generally Recognized as Safe (GRAS) for use as a propellant in whipped cream dispensers.
Can I use an N2O whipper for hot milk?
It’s not recommended. Most N2O whippers are designed for cold or room-temperature liquids. Hot liquids create pressure issues and can cause the whipper to malfunction or release foam unevenly. For hot foam, stick to the French press or handheld frother.
Chat with us on Whatsapp, we’ll sort you out in minutes.