
Share your requirements with Rotass now!
How to Make Stable Plant-Based Foam with a Cream Dispenser
Plant-based drinks and desserts are now a regular part of many café menus. But making a smooth, stable foam from oat milk, almond milk, or other dairy-free bases is not as simple as replacing dairy cream with a plant-based alternative.
A cream dispenser can create light, fine foam within seconds, but the final texture depends largely on the liquid you put into it. Some plant-based bases produce a smooth foam that holds its shape well, while others may turn out thin, separate after a few minutes, or lose their structure when added to a hot drink.
This difference comes from the composition of plant-based drinks. Unlike dairy cream, they contain different levels of fat and protein and have different emulsion properties. Coconut cream, oat milk, soy milk, and almond milk can therefore give very different results, even when prepared in the same dispenser.
In our testing, three factors made the biggest difference to foam quality: choosing the right base, keeping the mixture cold, and adding enough stabiliser when needed. The guide below looks at each of these factors and offers practical tips for making plant-based foam at home or in a café.
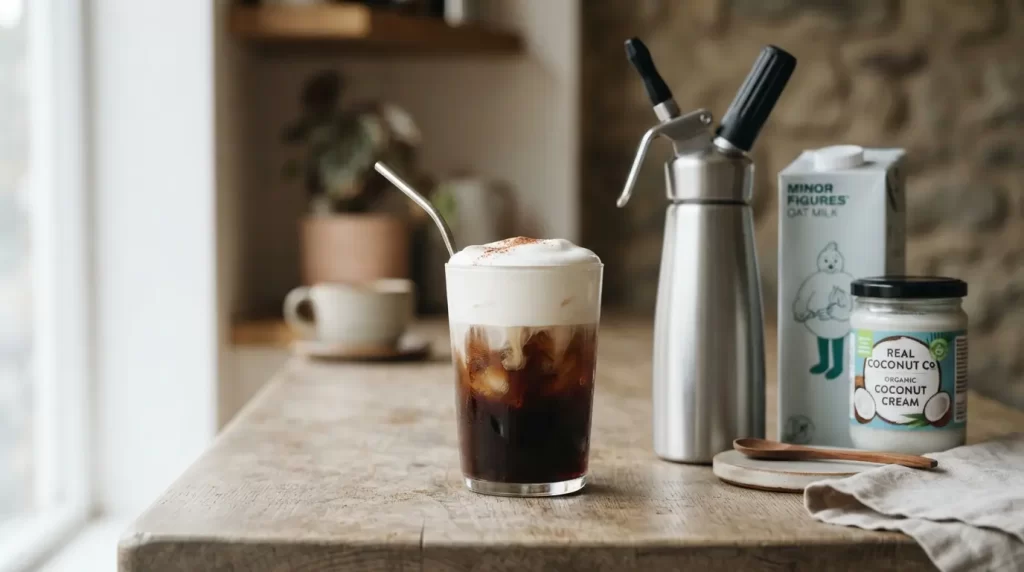
Why Is Plant-Based Foam Harder to Stabilize?
Traditional whipped cream benefits from a relatively high fat content. During whipping, milk fat helps form a structure around the incorporated air, allowing the foam to hold its shape. Plant-based drinks are more varied. Many contain much less fat, while their proteins, oils, starches, emulsifiers, and stabilisers depend on the type and formulation of the product.
Recent research on plant-based milks has also found that protein type, lipid content, particles, emulsifiers, and processing all affect foam formation and stability. In other words, two oat milks can produce noticeably different results even when they are used in the same dispenser.
There is no single fat percentage that guarantees successful foam for every plant-based base. Instead, look at the product as a whole. A barista-formulated oat milk, for example, may foam better than a standard oat drink because its formulation has been designed for coffee applications.
Temperature matters too. Cold mixtures generally produce better results in cream dispensers because the fat and emulsion structure are more suitable for aeration. Manufacturer instructions for professional whippers also recommend filling the dispenser with a cold preparation and leaving sufficient empty space in the bottle.
The gas matters as well. For cream-style foams, food-grade N₂O is commonly used because it dissolves into the liquid and expands when the mixture is dispensed. It should not be confused with N₂ chargers designed for nitro coffee, which are intended for a different application.
Best Plant-Based Bases for a Cream Dispenser
Not every plant-based milk is equally suitable. If you are making your first batch, start with a base that already has enough body and fat rather than trying to force a very thin drink into a whipped-cream texture.
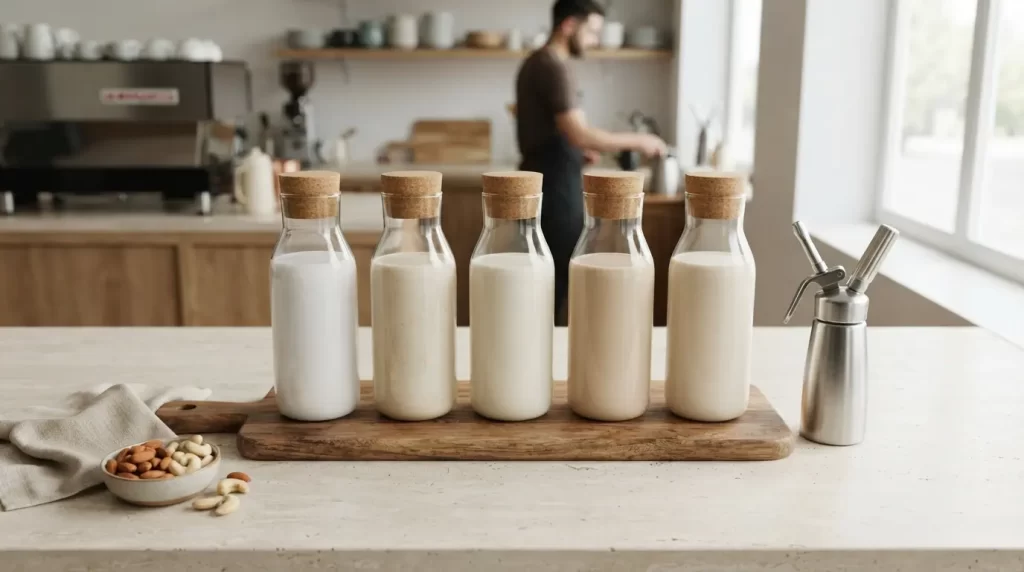
1. Full-Fat Coconut Milk or Coconut Cream
Coconut-based products are usually the easiest starting point because coconut cream can provide a relatively rich texture without dairy.
For a firm dessert-style foam, use coconut cream rather than a thin coconut beverage. If the product contains a high amount of water, the finished foam will naturally be lighter and less stable.
The main drawback is flavour. Coconut has a noticeable taste, so it works particularly well with chocolate, vanilla, tropical fruit, coffee, and other flavours that can complement it.
2. Barista Oat Milk
Barista oat milk is a better option when you want a more neutral flavour.
Look for a product specifically formulated for coffee or foaming. These products often contain a combination of oils, proteins, and stabilising ingredients that help improve texture during aeration.
Oat milk foam is usually softer than coconut cream foam, making it a good choice for iced coffee, cold brew, and dessert toppings.
3. Soy Milk
Soy milk has useful protein content and can produce a reasonably stable foam when the formulation is suitable.
Flavour can be a consideration. Some soy milks have a noticeable bean-like taste, especially when used without sweeteners or other flavourings. Vanilla, cocoa, caramel, and coffee can work well with soy-based foam.
4. Almond Milk
Standard almond milk is usually more difficult to turn into a thick foam because it can be relatively low in solids and fat.
If almond is your preferred base, choose a barista version and consider adding a small amount of stabiliser or a richer plant-based ingredient.
5. Cashew and Other Nut-Based Drinks
Cashew milk can produce a smooth, creamy texture, but the results depend heavily on the specific product. Homemade or very thin nut milks may separate more easily than commercially formulated versions with added fats, emulsifiers, or stabilisers.
For café use, test the exact product you plan to serve before adding it to the menu. The label “plant-based milk” covers a wide range of formulations, so the label alone does not tell you how well a particular product will foam.
Step-by-Step Method for Stable Plant-Based Foam
The process does not require many ingredients or complicated equipment, but a few details can make a big difference to the final texture.
Step 1: Chill Everything
Start with a well-chilled plant-based base. Refrigerate the mixture before filling the dispenser whenever possible.
Keep the dispenser clean and cold as well. Do not add a warm mixture unless the dispenser is specifically designed for hot preparations.
Step 2: Start With a Simple Formula
For a coconut-based foam, you can start with:
- 400 g full-fat coconut cream
- 100 g coconut milk or barista oat milk
- 10–20 g sugar or syrup, adjusted to taste
- 0.3–0.5 g xanthan gum, if extra stability is needed
Xanthan gum is optional. Use a small amount at first, as too much can give the foam a gummy texture instead of a smooth, creamy one.
For an oat-based foam, start with about 500 g barista oat milk and 10–20 g sugar or syrup. If the foam lacks body, a small amount of coconut cream can help thicken it without giving the mixture a strong coconut flavour.
Treat these amounts as starting points rather than fixed recipes. Plant-based products vary from one brand to another, so test the formula before making a large batch.
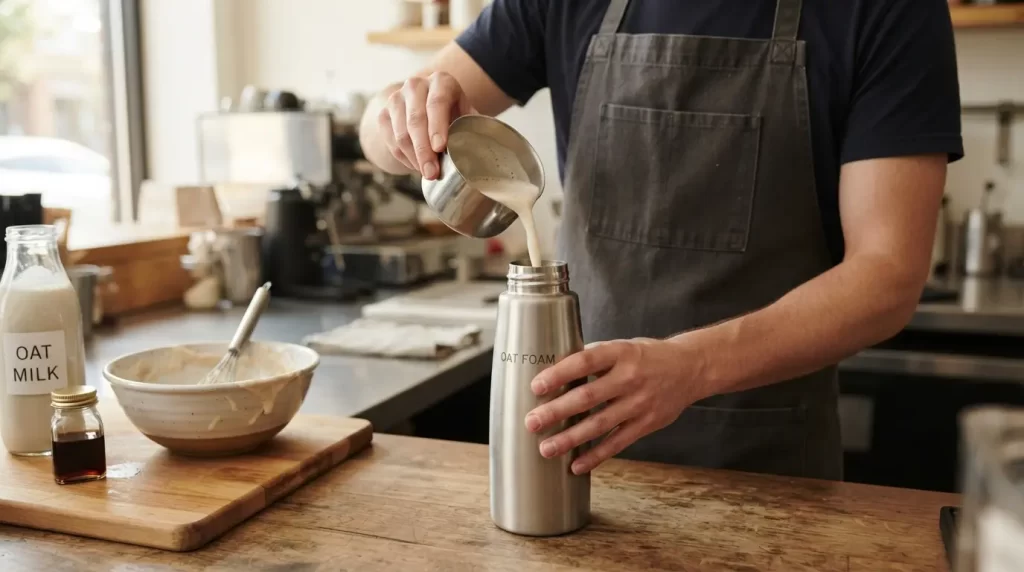
Step 3: Mix and Strain
Mix the ingredients well and make sure any stabiliser is evenly dispersed. If you are using ingredients such as seeds, fruit pulp, or other particles, strain the mixture before transferring it to the dispenser.
Straining also helps protect the dispenser. Small particles can block the valve or decorating tip.
Step 4: Do Not Overfill
Leave enough empty space inside the bottle for the gas to mix with the liquid and expand during dispensing.
The maximum fill level varies between dispenser models, so use the marked fill line or the manufacturer’s stated capacity rather than applying the same volume to every dispenser.
Step 5: Charge With the Correct N₂O Charger
Use a food-grade N₂O cream charger that is designed for your dispenser. Insert and activate the charger according to the manufacturer’s instructions, allowing the gas to enter the dispenser completely.
If the foam initially seems too thin, do not simply add more chargers. The recommended number of chargers depends on the dispenser’s size and design, so follow the instructions for your specific model.
Step 6: Shake and Test
Once the dispenser has been charged, shake it firmly several times to distribute the gas through the mixture. Rotass recommends at least six vigorous shakes for several of its cream whippers.
Dispense a small amount and check the texture. If the foam is still slightly loose, another brief round of shaking may help. Avoid repeatedly shaking the dispenser without checking the result, as this can make it harder to identify whether the issue is the recipe, temperature, or charging method.
When dispensing, hold the dispenser upside down so the liquid mixture reaches the valve instead of allowing gas to escape on its own.
Common Problems and How to Fix Them
If the foam collapses within a few minutes, the base may not contain enough fat or may not be cold enough. Try using a higher-fat plant-based base and make sure it has been thoroughly chilled before use.
If the foam comes out thin or watery, the dispenser may be too full, or the gas may not have dissolved evenly. Leave some space at the top of the dispenser and shake it well after charging.
A grainy texture can result from coconut cream that has not been mixed until smooth or from stabilizers that have not dissolved completely. If necessary, blend the base before adding it to the dispenser.
If the foam has a strong coconut or soy taste, pair it with ingredients that complement the flavor or choose a more neutral base, such as barista-style oat milk.
Foam tends to lose its structure faster on hot drinks, especially when made with plant-based ingredients. For hot applications, prepare the foam shortly before serving and avoid dispensing more than you need.
Practical Recipes for Cafés and Home Use
Basic coconut foam
Use the solid cream from one can of refrigerated full-fat coconut milk. Add a small amount of sweetener if needed. Charge the dispenser with one N₂O charger, then shake well. The foam can be used on desserts or as a topping for drinks.
Oat cold foam for iced coffee
Measure 250 ml of chilled barista-style oat milk and add a small amount of sweetener. Charge the dispenser and shake it 5–6 times. Dispense the foam over iced coffee or other cold drinks.
Lower-sugar version
Reduce the amount of sweetener or leave it out completely. The natural flavor of the plant-based base will provide most of the taste. Coconut cream tends to give better results when making a lower-sugar foam than thinner plant milks.
The same basic recipes can be adjusted for home use or café service. For busy periods, cafés can prepare multiple dispensers in advance and keep them refrigerated until needed.

Tips for Consistent Commercial Results
Consistency matters when foam is prepared and served many times a day.
First, use the same plant-based base as much as possible. Different oat or coconut milk brands can have different levels of fat, protein, solids, and stabilizers. These differences can affect the texture and stability of the foam.
Second, keep the preparation temperature consistent. A mixture taken directly from the refrigerator may behave differently from one that has been sitting at room temperature for some time.
Third, train staff to follow the same charging and shaking process each time. Always follow the dispenser manufacturer’s instructions, especially for the number of chargers and maximum filling capacity.
Cleaning is also important. Plant-based ingredients can leave oil, protein, sugar, and other residues around the valve and nozzle. Over time, these residues can affect dispensing and hygiene. Rotass recommends emptying and depressurizing the dispenser before cleaning the head, valve, gasket, and spout.
If the same dispenser is used for both dairy and plant-based mixtures, clean it thoroughly between batches. For businesses serving customers with allergies or specific dietary needs, using separate equipment may be a better option, depending on their food-safety procedures.
Contact us now, and we’ll get back to you within minutes.