Share your requirements with Rotass now!
Whipped Butter Recipe: 3 Methods for Making Lighter Butter
If you’ve ever had butter at a good steakhouse or bakery, the kind that practically melts the moment it touches warm bread, there’s a good chance it was whipped. The texture is noticeably softer, lighter, and easier to spread than a cold stick pulled straight from the fridge.
The good news is that whipped butter is simple to make at home, and you don’t need any special equipment to get started. Rotass Team will tell you three methods depending on what you have on hand, along with a handful of flavour variations worth trying.
What Makes Whipped Butter Different from Regular Butter
Regular butter is dense. When it’s cold, it tears bread. When it’s too soft, it turns greasy. Whipped butter sits in a different category entirely: air gets incorporated during the whipping process, which changes both the texture and the way it behaves on food.
Because of the added air, whipped butter is lighter by volume, which also means it spreads more thinly and evenly. It melts faster on warm surfaces, which is why it works so well on fresh rolls, pancakes, or grilled corn. Flavour-wise, it tastes the same as regular butter but the texture makes it feel richer than it actually is.
One thing to note: whipped butter isn’t the same as clarified butter or compound butter, though the three are sometimes confused. Whipped butter is simply aerated softened butter, nothing more.
Ingredients & Quantities
Basic Whipped Butter (Makes about 1 cup / serves 8–10)
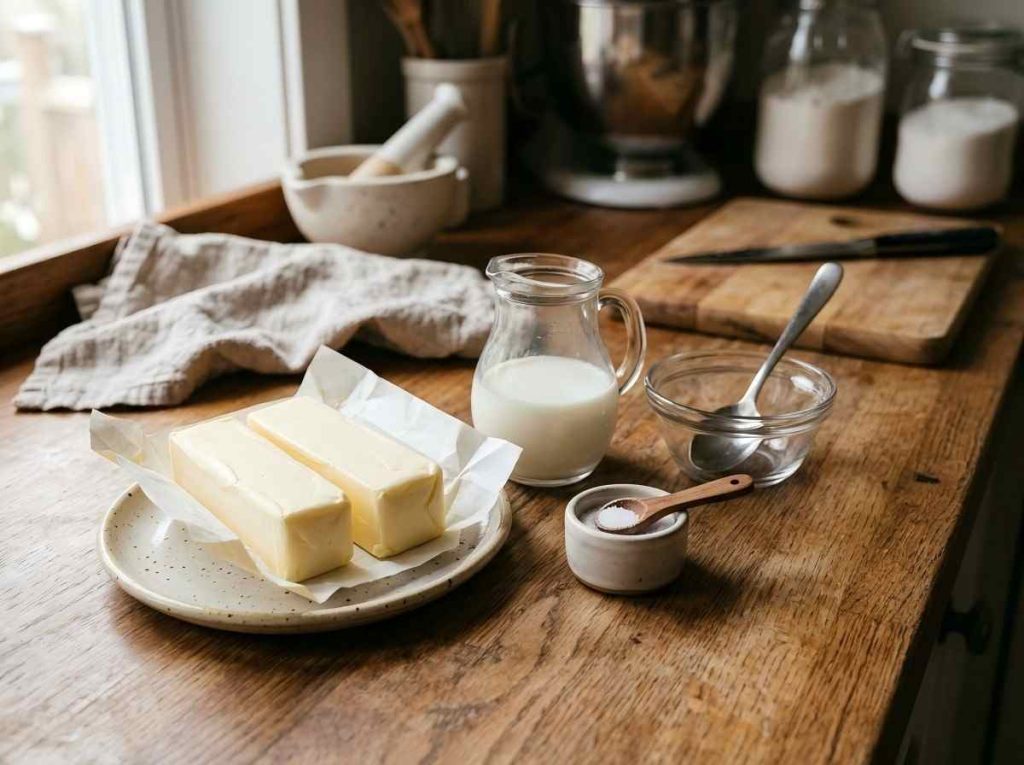
- 225g (1 cup / 2 sticks) unsalted butter, at room temperature
- 2–3 tablespoons whole milk or heavy cream
- ¼ teaspoon fine sea salt (skip if using salted butter)
The butter needs to be genuinely soft before you start, not melted, but soft enough that a finger pressed into it leaves a clean indent. This usually means leaving it out at room temperature for 45–60 minutes. Cold butter won’t aerate properly, and it can seize up your mixer.
Flavoured Variations
Once you have the base down, it’s easy to customize. A few combinations that work well:
- Honey Butter.
Add 2 tablespoons of honey and a pinch of cinnamon. Good on cornbread, waffles, and sweet rolls. - Garlic Herb Butter.
Add 2 minced garlic cloves (or ½ teaspoon garlic powder), 1 tablespoon chopped fresh parsley, and a little black pepper. Great alongside steak or roasted vegetables. - Cinnamon Sugar Butter.
Mix in 1½ teaspoons cinnamon and 1 tablespoon powdered sugar. A natural match for pancakes and French toast. - Brown Butter Whipped.
Brown the butter first, let it cool and re-solidify in the fridge, then whip. The nutty depth adds a lot to pasta and roasted squash dishes.
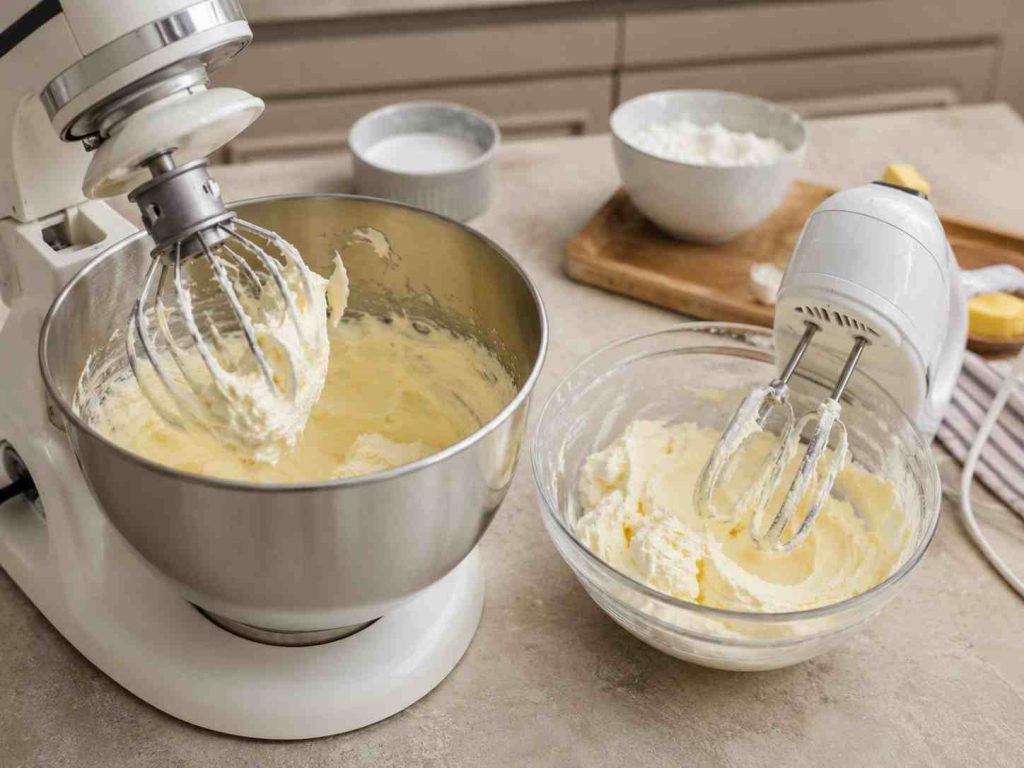
Method 1 — Stand Mixer or Hand Mixer
This is the most reliable method and the one most people reach for first.
Steps:
- Cut the softened butter into rough chunks and place in the mixing bowl.
- Beat on medium speed for about 2 minutes, until the butter lightens in colour and starts to look fluffy.
- Add the milk or cream one tablespoon at a time, continuing to beat between additions.
- Once all the liquid is in, increase to medium-high and whip for another 2–3 minutes. The butter should look pale, airy, and noticeably increased in volume.
- Add salt (and any flavourings) and mix for another 30 seconds to combine.
The total process takes under 10 minutes. The result holds its shape at room temperature for a couple of hours without collapsing.
Rotass Tips: If the butter turns greasy or starts to look broken, it was probably too warm. Pop the bowl in the fridge for 10 minutes and try again.
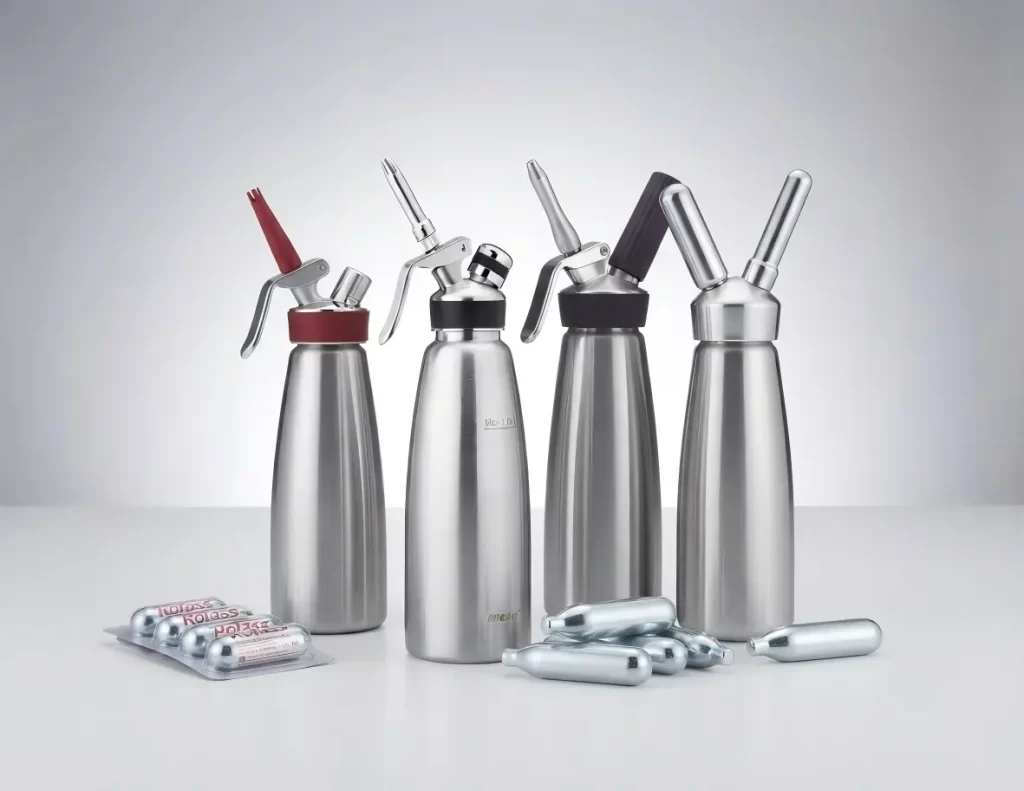
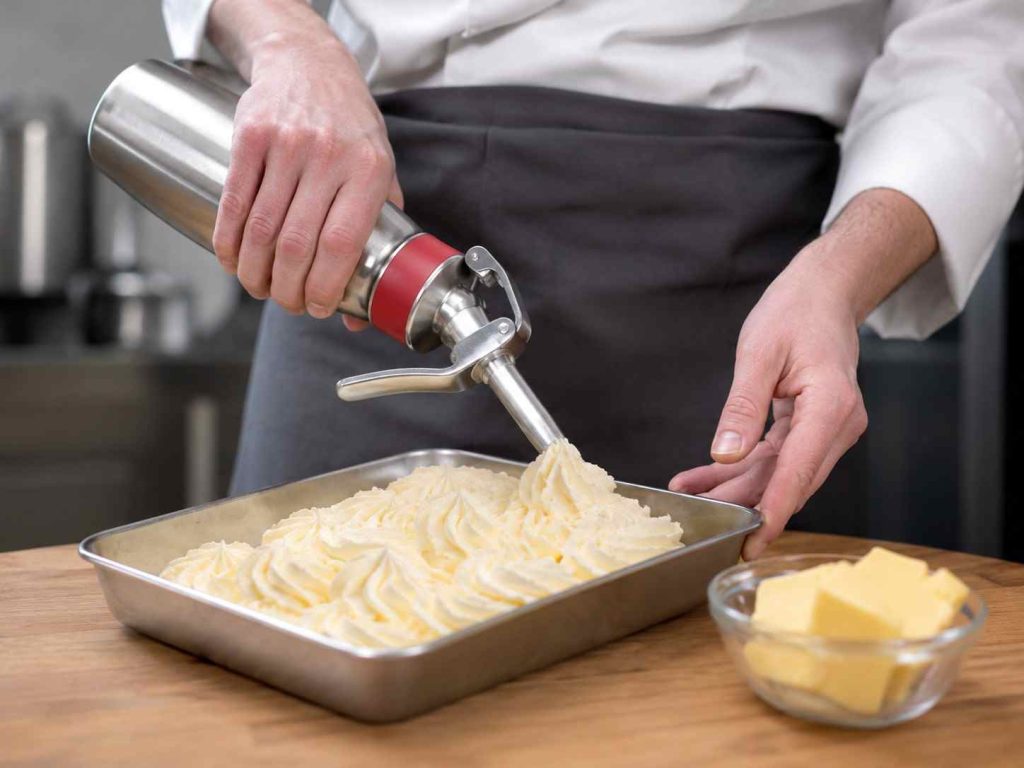
Method 2 — Using a Whipped Cream Dispenser
This method produces a noticeably lighter, airier result, which is closer to what you’d find in a fine dining setting. It works by charging the butter mixture with N₂O, which forces gas through the fat and creates an exceptionally smooth, mousse-like texture.
It’s not the most common home method, but if you already have a cream dispenser, it’s worth trying especially for presentation purposes or when you want a butter that pipes cleanly into rosettes.
Steps:
- Melt the butter completely and let it cool to just above room temperature (around 30–35°C). It needs to be liquid enough to pour, but not hot.
- Add the milk or cream and a pinch of salt, then stir to combine.
- Pour the mixture into the cream dispenser. Do not fill past the maximum fill line.
- Charge with one N₂O cream charger, shake well, and dispense into a chilled bowl or mould.
- Refrigerate for 15–20 minutes to allow the butter to set into a spreadable consistency.
The texture this produces is softer and more delicate than mixer-whipped butter. It doesn’t hold its shape as firmly at room temperature, so it’s better served slightly chilled. For flavoured versions, mix in honey or herbs before loading the dispenser, just make sure there are no chunky solids that could clog the nozzle.
Rotass N₂O cylinders and 8g cream chargers are food-grade certified and work with standard dispenser fittings, which matters here since the gas directly contacts the food.
Method 3 — Food Processor or by Hand
Food processor: This works surprisingly well for larger batches. Add the softened butter in chunks and process for 1–2 minutes, scraping down the sides once or twice. Add liquid through the feed tube while running. The result is slightly denser than mixer-whipped butter but still noticeably lighter than regular.
By hand: Technically possible, but it takes patience. Use a wooden spoon or silicone spatula and beat the softened butter vigorously in a wide bowl, incorporating small amounts of liquid as you go. Expect 8–10 minutes of active work. This method works best for small quantities.
Why Your Whipped Butter Isn’t Fluffy
A few things that can get in the way:
- Butter too cold — The most common issue. Cold butter doesn’t incorporate air well and can strain a hand mixer. Always start at room temperature.
- Butter too warm — On the other end, butter that’s close to melting will turn greasy instead of fluffy. The ideal temperature is around 18–21°C (65–70°F).
- Too much liquid added at once — This can cause the mixture to break or become soupy. Add milk or cream gradually, a tablespoon at a time.
- Not whipping long enough — Two minutes often isn’t enough. Give it a full 4–5 minutes on medium-high and you’ll see the difference in volume and colour.
- Salted butter + added salt — Not a texture problem, but worth flagging. If you’re using salted butter, taste before adding any additional salt.
How to Serve, Store, and Freeze Whipped Butter
Serving: Whipped butter is best served at cool room temperature. Use a small ramekin, pipe it into rosettes with a star tip for a cleaner presentation, or spread it onto a wooden board and top with flaky salt, herbs, or honey for a butter board — a trend that’s been popular at gatherings for a few years now and still holds up.
Storage: Keep in an airtight container in the refrigerator for up to one week. It will firm up when chilled but softens back quickly at room temperature.
Freezing: Whipped butter freezes well for up to three months. Portion it into tablespoon-sized scoops on a lined tray, freeze until solid, then transfer to a sealed bag. Thaw in the fridge overnight.
Once you’ve made it a few times, whipped butter becomes one of those things you keep in the fridge as a default. It takes an extra few minutes compared to just putting a stick on the table, but the difference is noticeable enough that it’s worth the habit, especially with fresh bread or a good piece of steak. Let’s try it together!
FAQs
Can I use whipped butter for baking?
It’s not ideal for baking recipes where butter is creamed with sugar, since the added air and liquid change the fat ratio. For spreading and finishing, though, it’s a straightforward swap.
Is whipped butter lower in calories than regular butter?
Per tablespoon, yes, because air increases the volume. Per gram of actual butter, no. The calorie content of the butter itself doesn’t change; you’re just using less per serving.
Can I whip vegan butter?
Most plant-based butters can be whipped, though some brands are already quite soft and won’t aerate as well. Stick to a firm variety (like Miyoko’s or Violife) and reduce the added liquid since vegan butters tend to have higher moisture content already. The USDA’s food data resource has full composition breakdowns if you want to compare fat content between options.
How do I make whipped butter hold its shape for piping?
After whipping, refrigerate for 20–30 minutes before piping. This firms it up just enough to hold a clean edge without losing the soft texture.
Contact us now, and we’ll get back to you within minutes.