Last Updated: May 2026
Use a Whipped Cream Dispenser: 8 Recipes for Desserts, Drinks & Savory Foam
Table of Contents
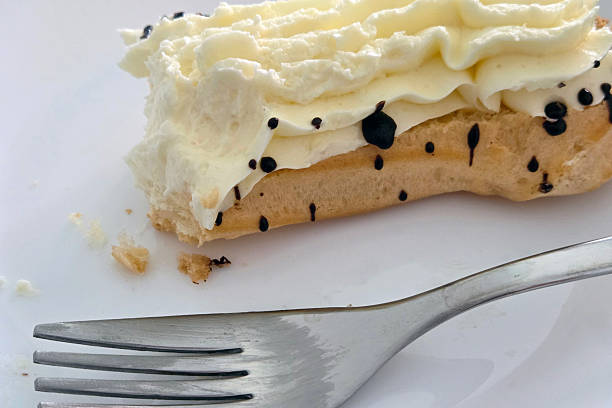
A whipped cream dispenser is one of those kitchen tools that looks simple but opens up a surprising range of possibilities once you get comfortable with it. Beyond the obvious, topping hot chocolate or strawberries, you can use it for mousse, flavored creams, savory foams, and more.
This guide covers everything you need: how to use a whipped cream dispenser correctly, what cream to use, and eight recipes you can try right away.
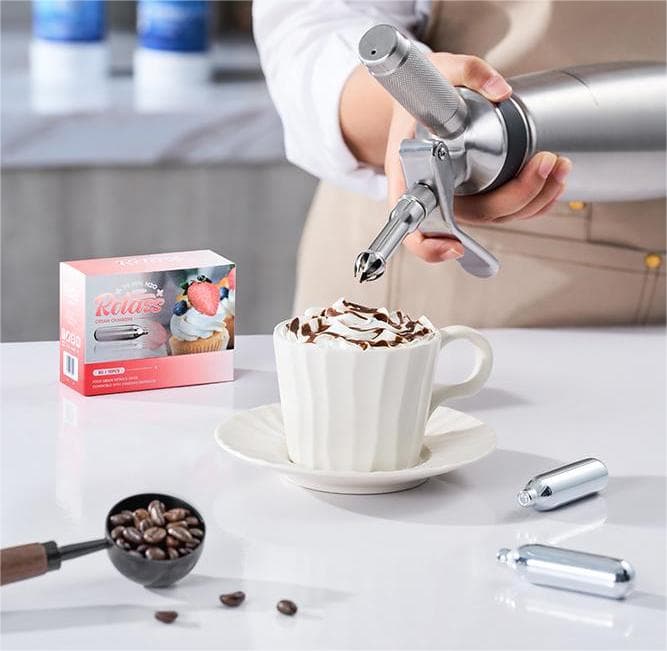
How to Use a Whipped Cream Dispenser
The process is straightforward, but a few details make the difference between perfect results and a runny mess.
Food-grade · OEM · Low MOQ · Local delivery
Step 1: Pour In the Cream
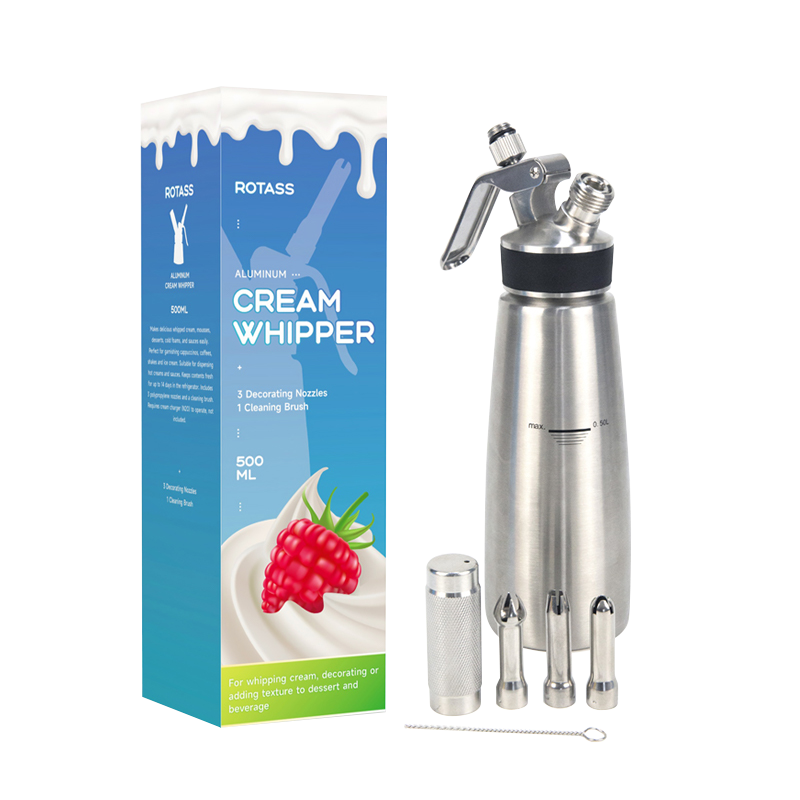
Fill the canister with heavy cream, don’t go past the maximum fill line marked on the dispenser. Overfilling leaves no room for the gas to do its job. If you want flavored cream, stir in sugar, vanilla extract, or any syrup directly into the cream before pouring.
Keep the cream cold. Warm cream doesn’t whip well. If your dispenser has been sitting out, chill it in the fridge for 15–20 minutes before use.
Step 2: Secure the Head and Charge It
Screw the head onto the canister firmly. Then place a nitrous oxide (N2O) charger into the charger holder and screw it onto the dispenser head. You’ll hear a hiss — that’s the gas releasing into the canister. Once it stops, unscrew and remove the charger holder.
One standard 8g charger is enough for a half-liter dispenser. For larger dispensers (1 liter), use two chargers.
Step 3: Shake
Give the dispenser 5–10 firm shakes, holding it upside down. This helps the N2O mix evenly through the cream. You don’t need to shake it for 30 seconds, a few good shakes is enough.
Step 4: Dispense
Attach the nozzle, point the dispenser straight down, and press the lever steadily. The first burst can be a little uneven, so do a small test squirt before serving.
What Cream Should You Use?
Use heavy cream with a fat content of 35% or higher. The fat is what holds the structure when the gas is introduced, lower-fat creams like half-and-half or regular milk simply won’t whip. They’ll come out liquid.
If you need a dairy-free option, full-fat coconut cream works well in most dispensers. Shake the can of coconut cream before pouring, and make sure it’s cold. According to Serious Eats, chilling coconut cream overnight gives the best results for non-dairy whipping applications.
Avoid pre-sweetened “whipping creams” from the store, the added stabilizers can sometimes clog the nozzle.
8 Whipped Cream Dispenser Recipes
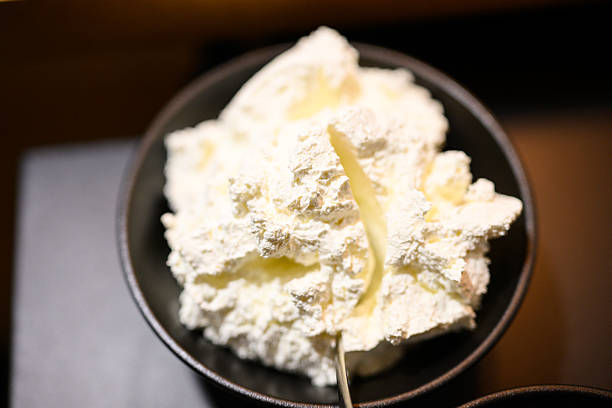
1. Classic Vanilla Whipped Cream
The foundation. Once you’ve made it fresh, the canned stuff feels like a step backward.
Ingredients (makes about 2 cups):
- 1 cup heavy cream
- 2 tbsp powdered sugar
- 1 tsp vanilla extract
Combine everything in the dispenser, charge with one N2O cartridge, shake, and dispense. Use it on pies, hot drinks, pancakes, or just eat it off a spoon.
2. Chocolate Mousse
This is where a dispenser earns its place. Traditional mousse takes time and technique; this version takes about 10 minutes.
Ingredients (serves 2–3):
- 1 cup heavy cream
- 3 oz dark chocolate, melted and cooled to room temperature
- 1 tbsp sugar
- 1 tsp vanilla extract
Combine all ingredients in the dispenser. Charge with one N2O cartridge and shake well. Dispense into serving glasses and refrigerate for 20–30 minutes before serving. The result is light, airy, and genuinely good not a compromise.
Note: Make sure the melted chocolate has cooled before adding to the cream. Hot chocolate will partially cook the cream and affect the texture.
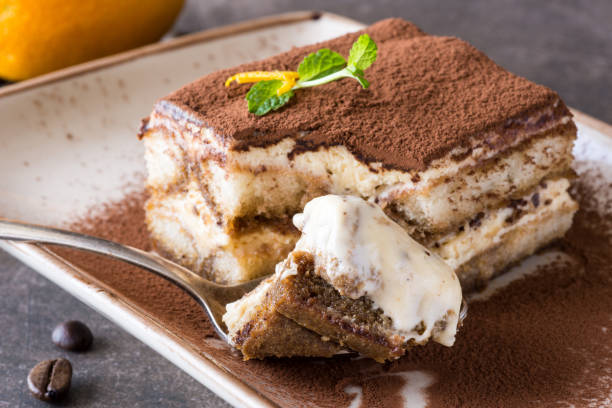
3. Tiramisu Cream
Skip the mixing bowls. This method gives you a lighter mascarpone layer than the traditional version.
Ingredients (serves 4):
- 1 cup mascarpone cheese
- ½ cup heavy cream
- ¼ cup powdered sugar
- 1 tbsp coffee liqueur (Kahlúa or similar)
Add everything to the dispenser, charge, shake for 10 seconds, and dispense over espresso-soaked ladyfingers. Dust with cocoa powder and chill before serving.
4. Lemon Whipped Cream
This one is underrated. It’s excellent on fruit tarts, scones, and anything with berries.
Ingredients:
- 1 cup heavy cream
- 2 tbsp powdered sugar
- 1 tbsp fresh lemon juice
- 1 tsp lemon zest
Mix the lemon juice and zest into the cream before loading the dispenser. Charge, shake, and dispense. The acidity from the lemon adds a brightness that plain whipped cream doesn’t have.
5. Vanilla Bourbon Whipped Cream
For adult desserts, cocktails, or a pecan pie that means business.
Ingredients:
- 1 cup heavy cream
- 2 tbsp powdered sugar
- 1 tsp vanilla extract
- 1 tbsp bourbon
The alcohol keeps the cream from setting too firmly, which makes it easier to dispense in a smooth flow. Use it on bread pudding, warm apple pie, or stirred into a cold brew coffee.
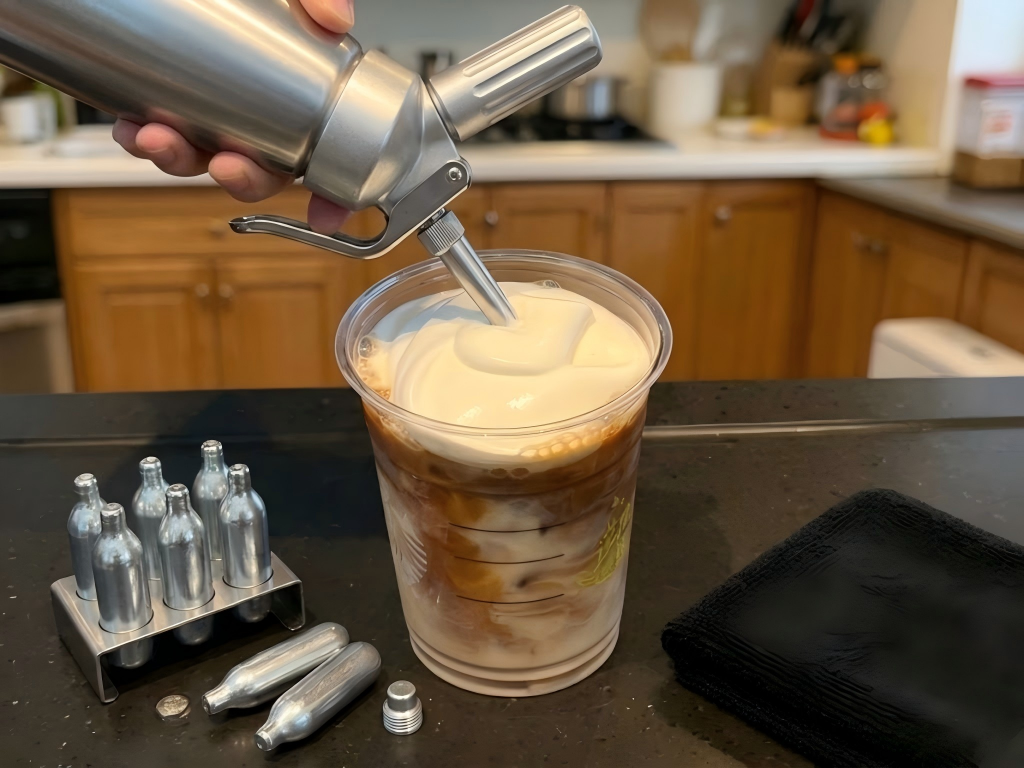
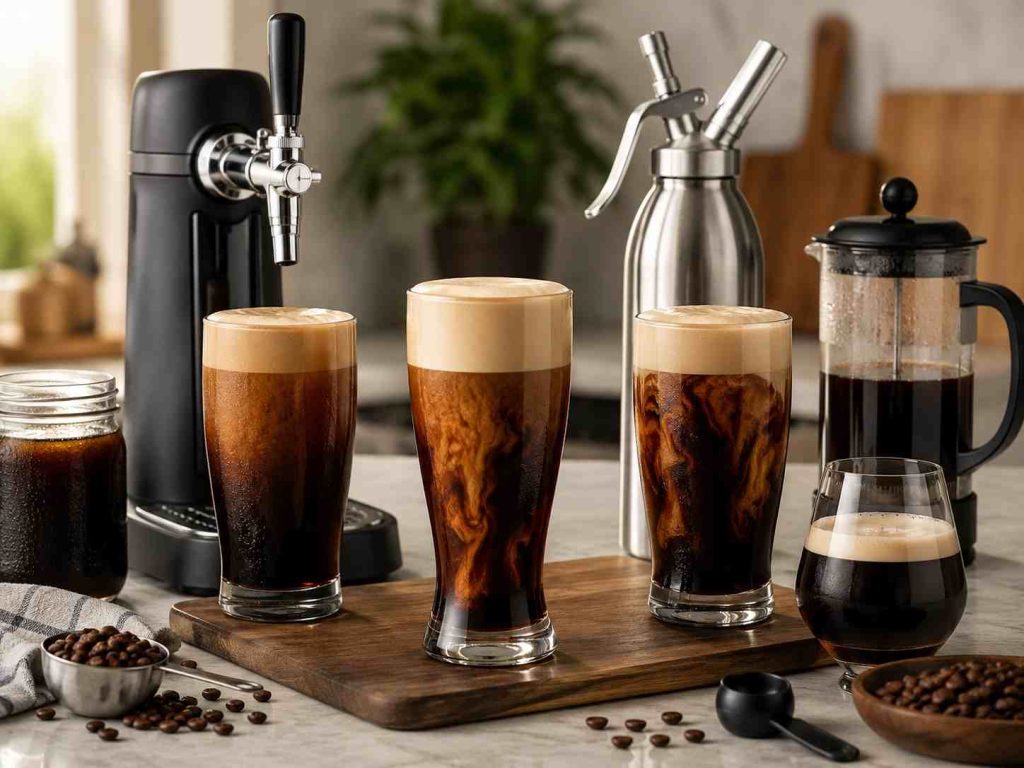
6. Cold Brew Cream Top
Inspired by the coffee shop trend of cream-topped cold brew. This is the version you can make at home in about two minutes.
Ingredients:
- 1 cup heavy cream
- 2 tbsp powdered sugar
- 1 tsp vanilla extract
- Optional: a pinch of sea salt
Charge and shake as normal. Pour cold brew or iced coffee into a glass, then dispense the cream slowly over the back of a spoon so it floats on top. The goal is a distinct cream layer, not a mixed drink. Sip through the cream that’s how it’s meant to be had.
7. Parmesan Foam (Savory)
This one surprises people. A savory foam sounds overly fancy, but it’s genuinely useful for finishing soups, risotto, or bruschetta.
Ingredients:
- 1 cup heavy cream
- ¼ cup finely grated Parmesan
- Salt and white pepper to taste
- Optional: a small garlic clove, grated
Warm the cream gently and whisk in the Parmesan until fully dissolved. Let it cool completely before loading the dispenser, this is important. Charge with one N2O cartridge and shake. Dispense a small amount over tomato soup or onto bruschetta right before serving. The foam is light and melts into the dish, leaving behind the flavor without the weight of cream.

8. Strawberry Whipped Cream
A step up from plain whipped cream for shortcakes, waffles, and crepes.
Ingredients:
- 1 cup heavy cream
- 3 tbsp strawberry jam or strawberry syrup
- 1 tbsp powdered sugar
Stir the jam into the cream until well combined before loading. Charge, shake, and dispense. The result has a natural pink color and genuine strawberry flavor no extract needed.
Common Mistakes
The cream comes out runny. Usually a temperature issue, the cream wasn’t cold enough, or the dispenser itself was warm. Chill everything and try again.
Nothing comes out. The nozzle may be blocked. Unscrew it and rinse under warm water, then reattach.
The cream is too stiff. You may have overcharged (used too many cartridges for the volume). Use one cartridge per ½ liter of liquid.
Foam collapses quickly. The fat content of the cream may be too low. Stick to 35%+ fat content for stable results.
How Long Does It Keep?
A sealed, charged dispenser keeps in the refrigerator for up to 2–3 days. The cream stays under pressure and won’t go flat like opened regular cream. This makes it practical for batch prep: charge it on Sunday and use it through the week.
For savory foams or recipes with added ingredients (like chocolate or cheese), consume within 24 hours.
A whipped cream dispenser doesn’t take long to master, and the payoff both in quality and convenience is noticeable from the first use. Start with the classic vanilla version to get comfortable with how the dispenser handles, then work through the rest of the list at your own pace. The savory foam recipe, in particular, is worth trying even if it sounds unfamiliar. It tends to be the one people are most surprised by.
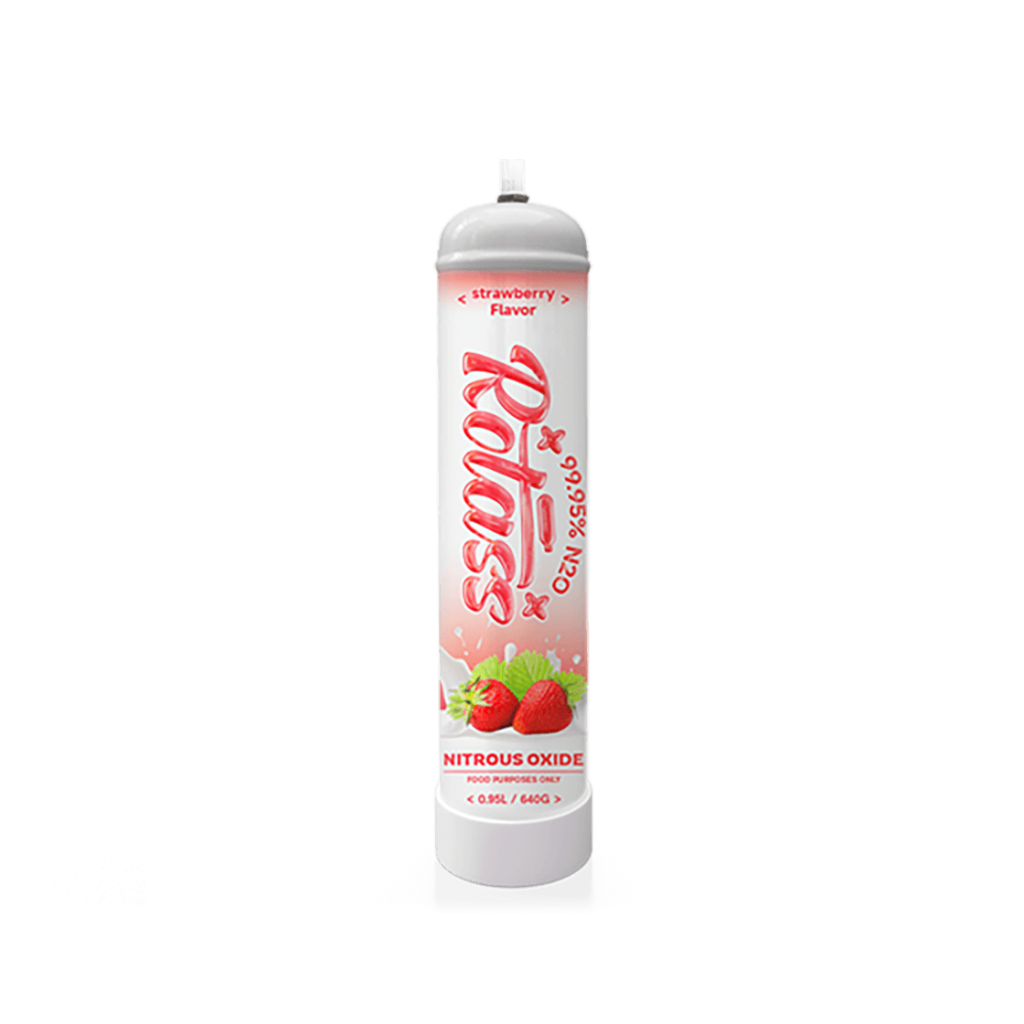
If you’re looking for a reliable dispenser to get started, our N2O cylinders are compatible with all standard dispensers and are food-grade certified. For more recipe ideas, Our Recipes Section is a solid reference for you.
Chat with us on Whatsapp, we’ll sort you out in minutes.